


Auditory Upgrade: How Felt Bunnies and Acoustic Panels Keep Our Baby’s Room Extra Quiet
We turned DIY acoustic panels into adorable felt art that dampens echoes while bringing warmth to the walls.
Our newly set up toddler's room was beautifully airy, but way too echo-y!
As part of Project Sound Absorption, we explored adding acoustic panels. Here's how it went!
Because this was for our baby's walls—and not just something to toss into her toy box—I held myself to a higher standard than my usual crafts. I don't want to feel like we "had" to put these panels up. I want to feel like it's adorable room decor that just happens to be acoustically helpful.
Goal: to make the acoustic panels look so cute, that if I saw them in a shop, I'd want to buy them!
Goal: to make the acoustic panels look so cute, that if I saw them in a shop, I'd want to buy them!
I usually operate with the goal of just having some fun, so the pressure was on.
1 ~ The Panels

We ordered 5 five panels from NowSpinning—3 large, and 2 standard, in varying shades of grey.
They shipped quickly and arrived in great condition.
2 ~ Pre-Cut Felt
Once I looked at the acoustic panels as a canvas, I saw endless possibilities.
Since they're felt, it seemed natural to add more felt. (Plus, felt is super easy to work with.)
I considered cutting my own felt shapes. But, I could envision myself making a wrong snip and spiraling down, down, down, into craft-madness. Time is limited and I want to get these up ASAP.
I considered cutting my own felt shapes. But, I could envision myself making a wrong snip and spiraling down, down, down, into craft-madness.
So, with a "bunnies" theme in mind, I scoured Etsy for something pre-cut.
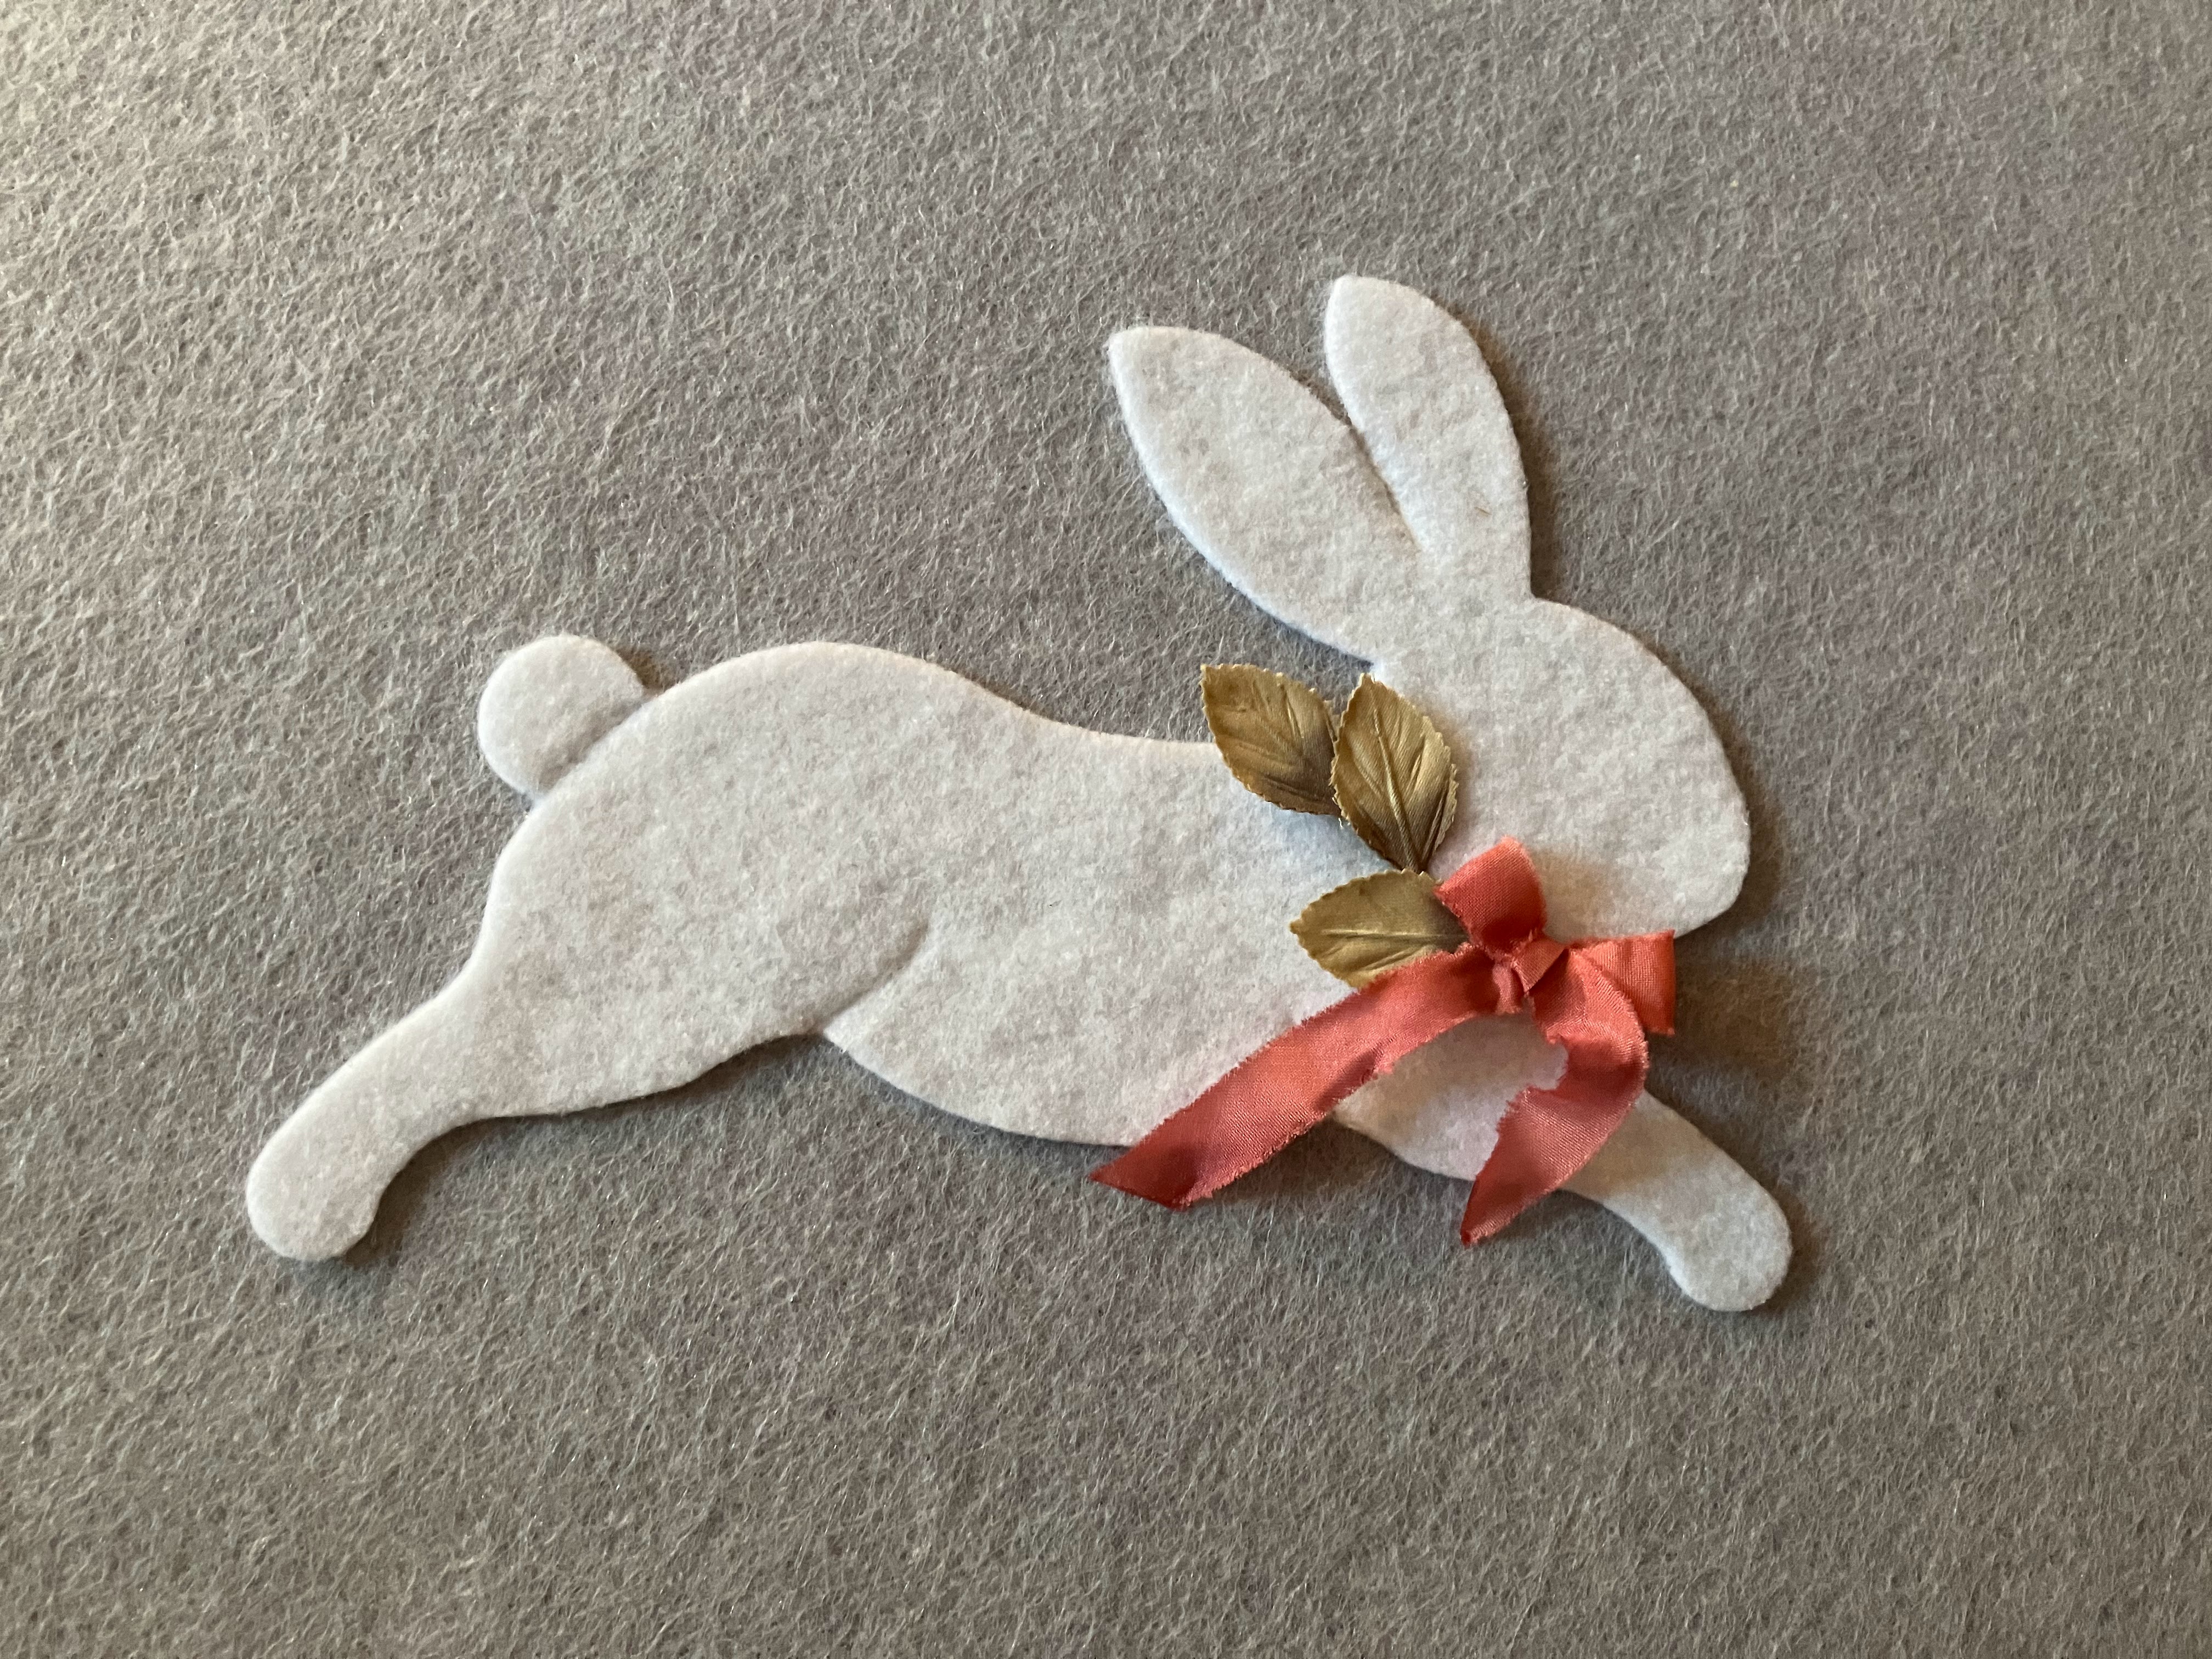
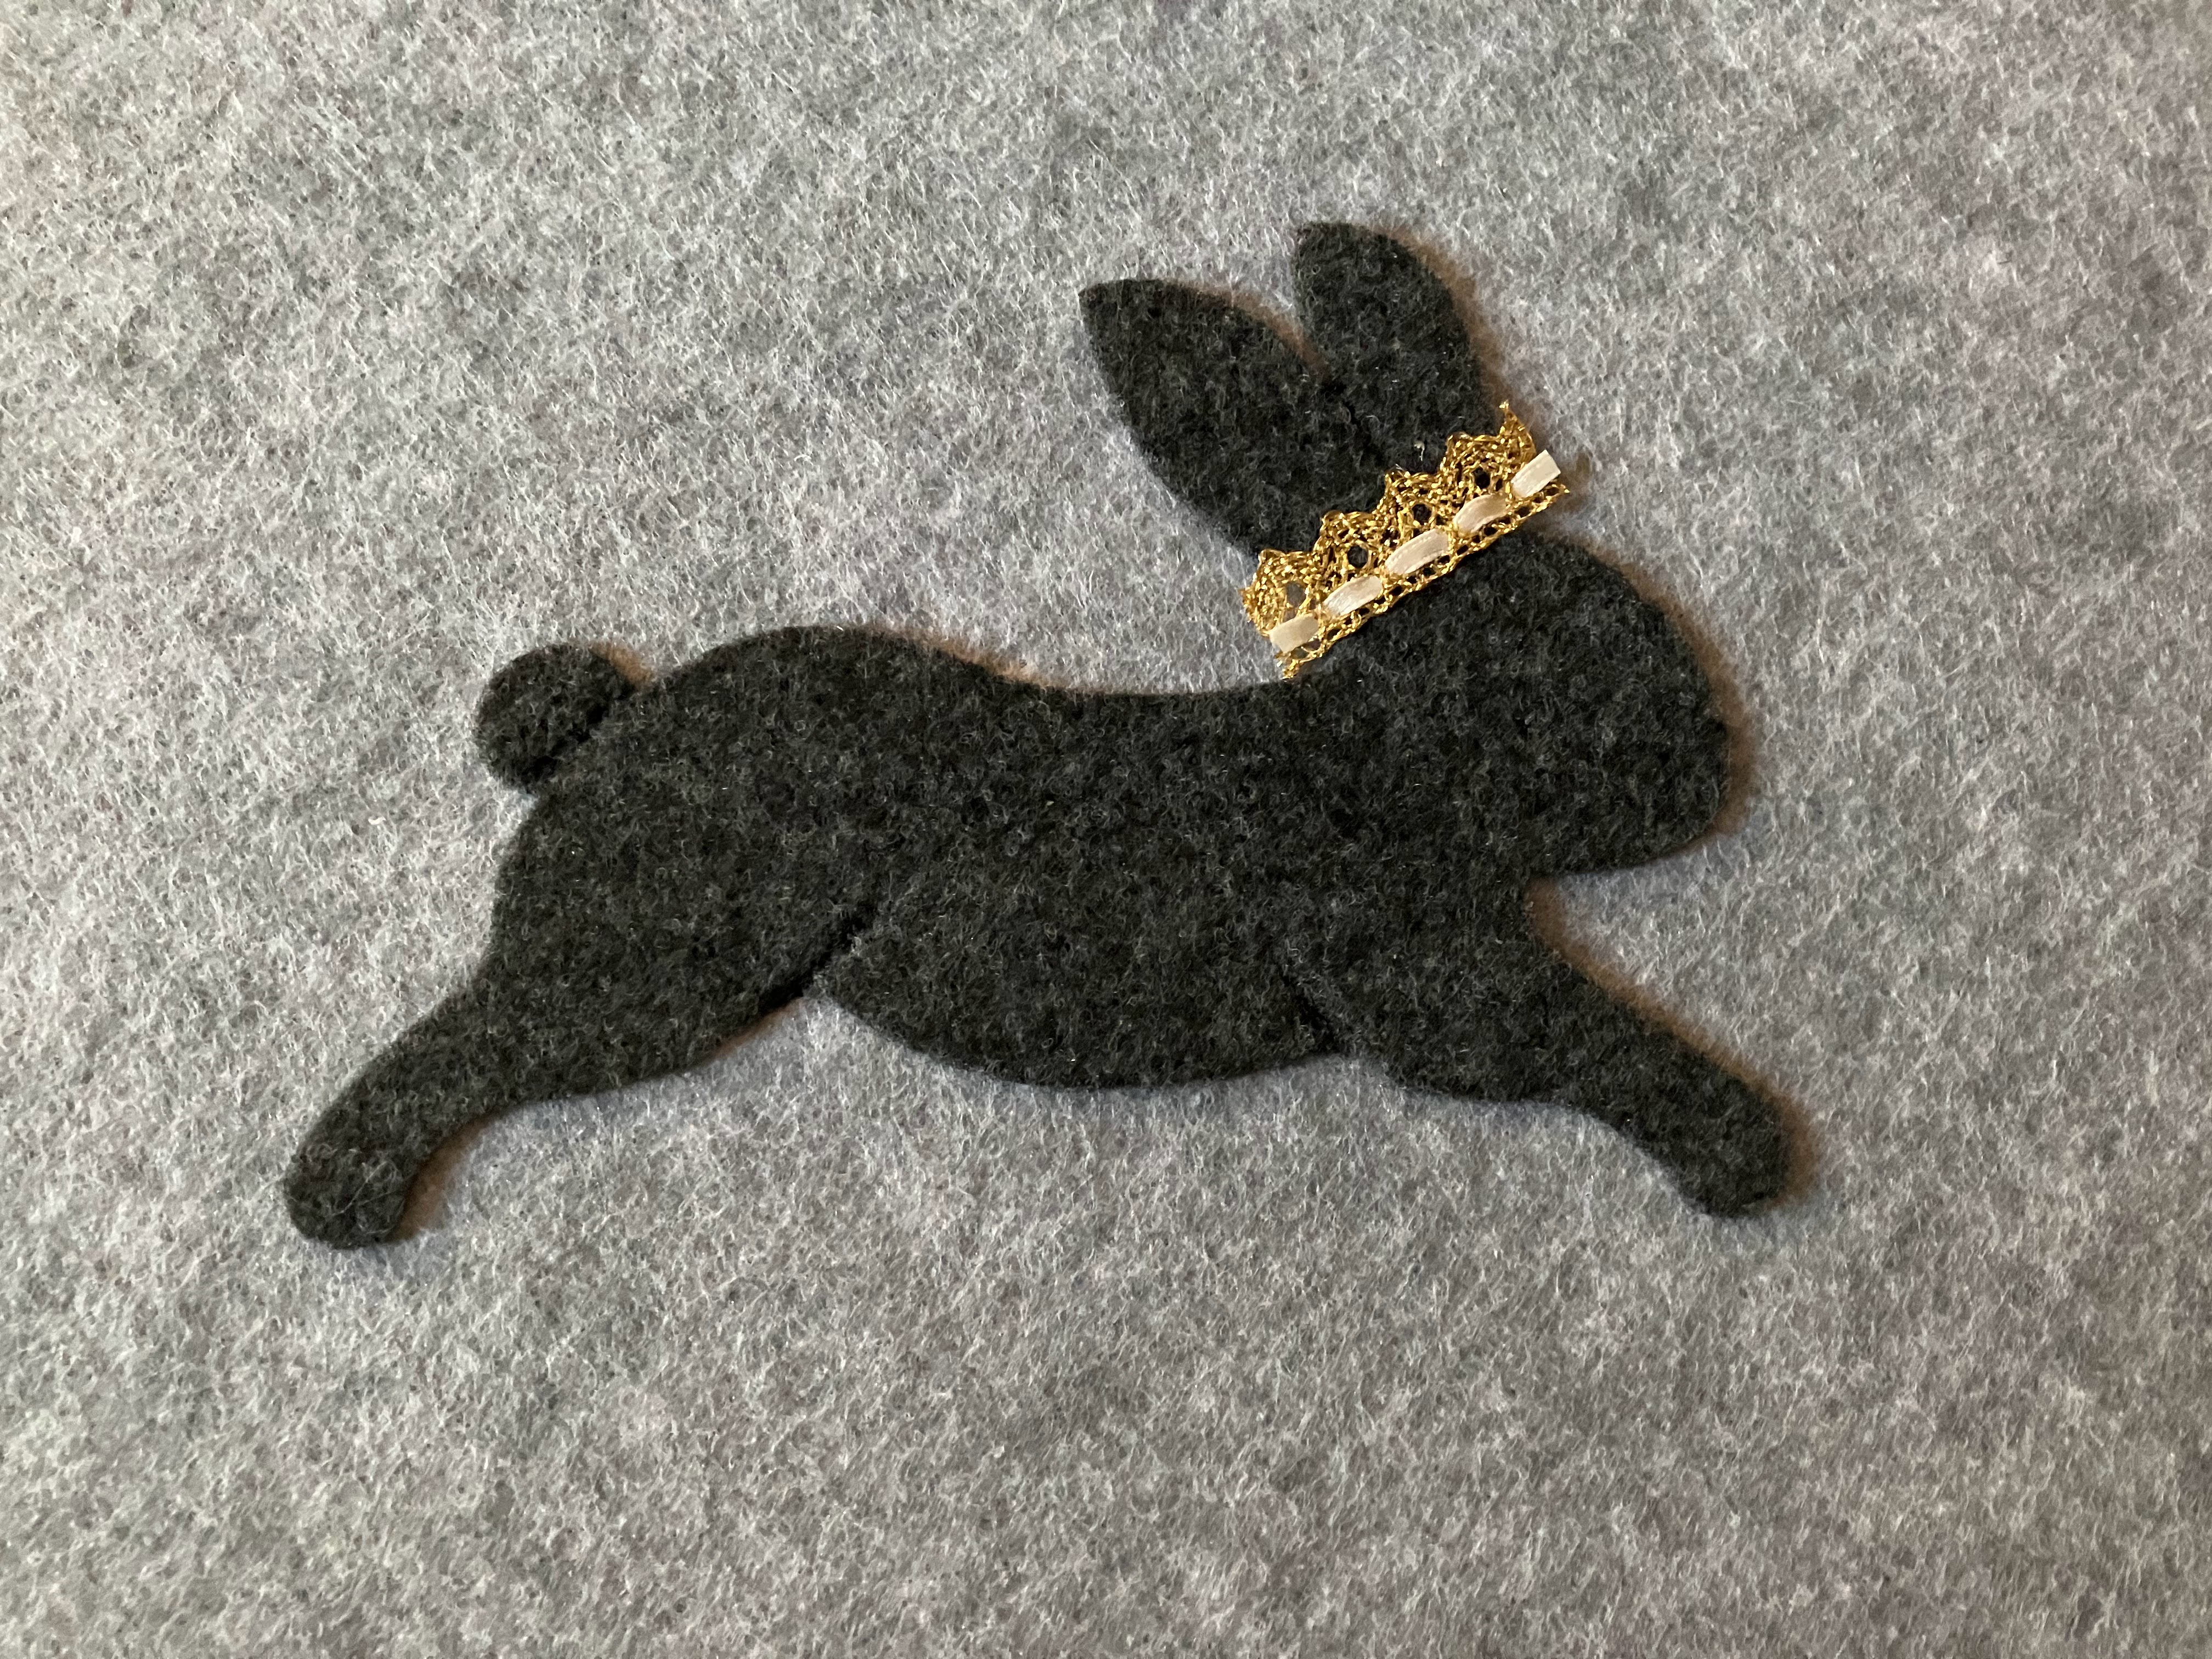
I fell in love with these bunnies and trees from PearCreekCottage. I love that the seller allows you to customize your color selection. I chose a mix of white, brown, and grey bunnies, and a mix of green trees.
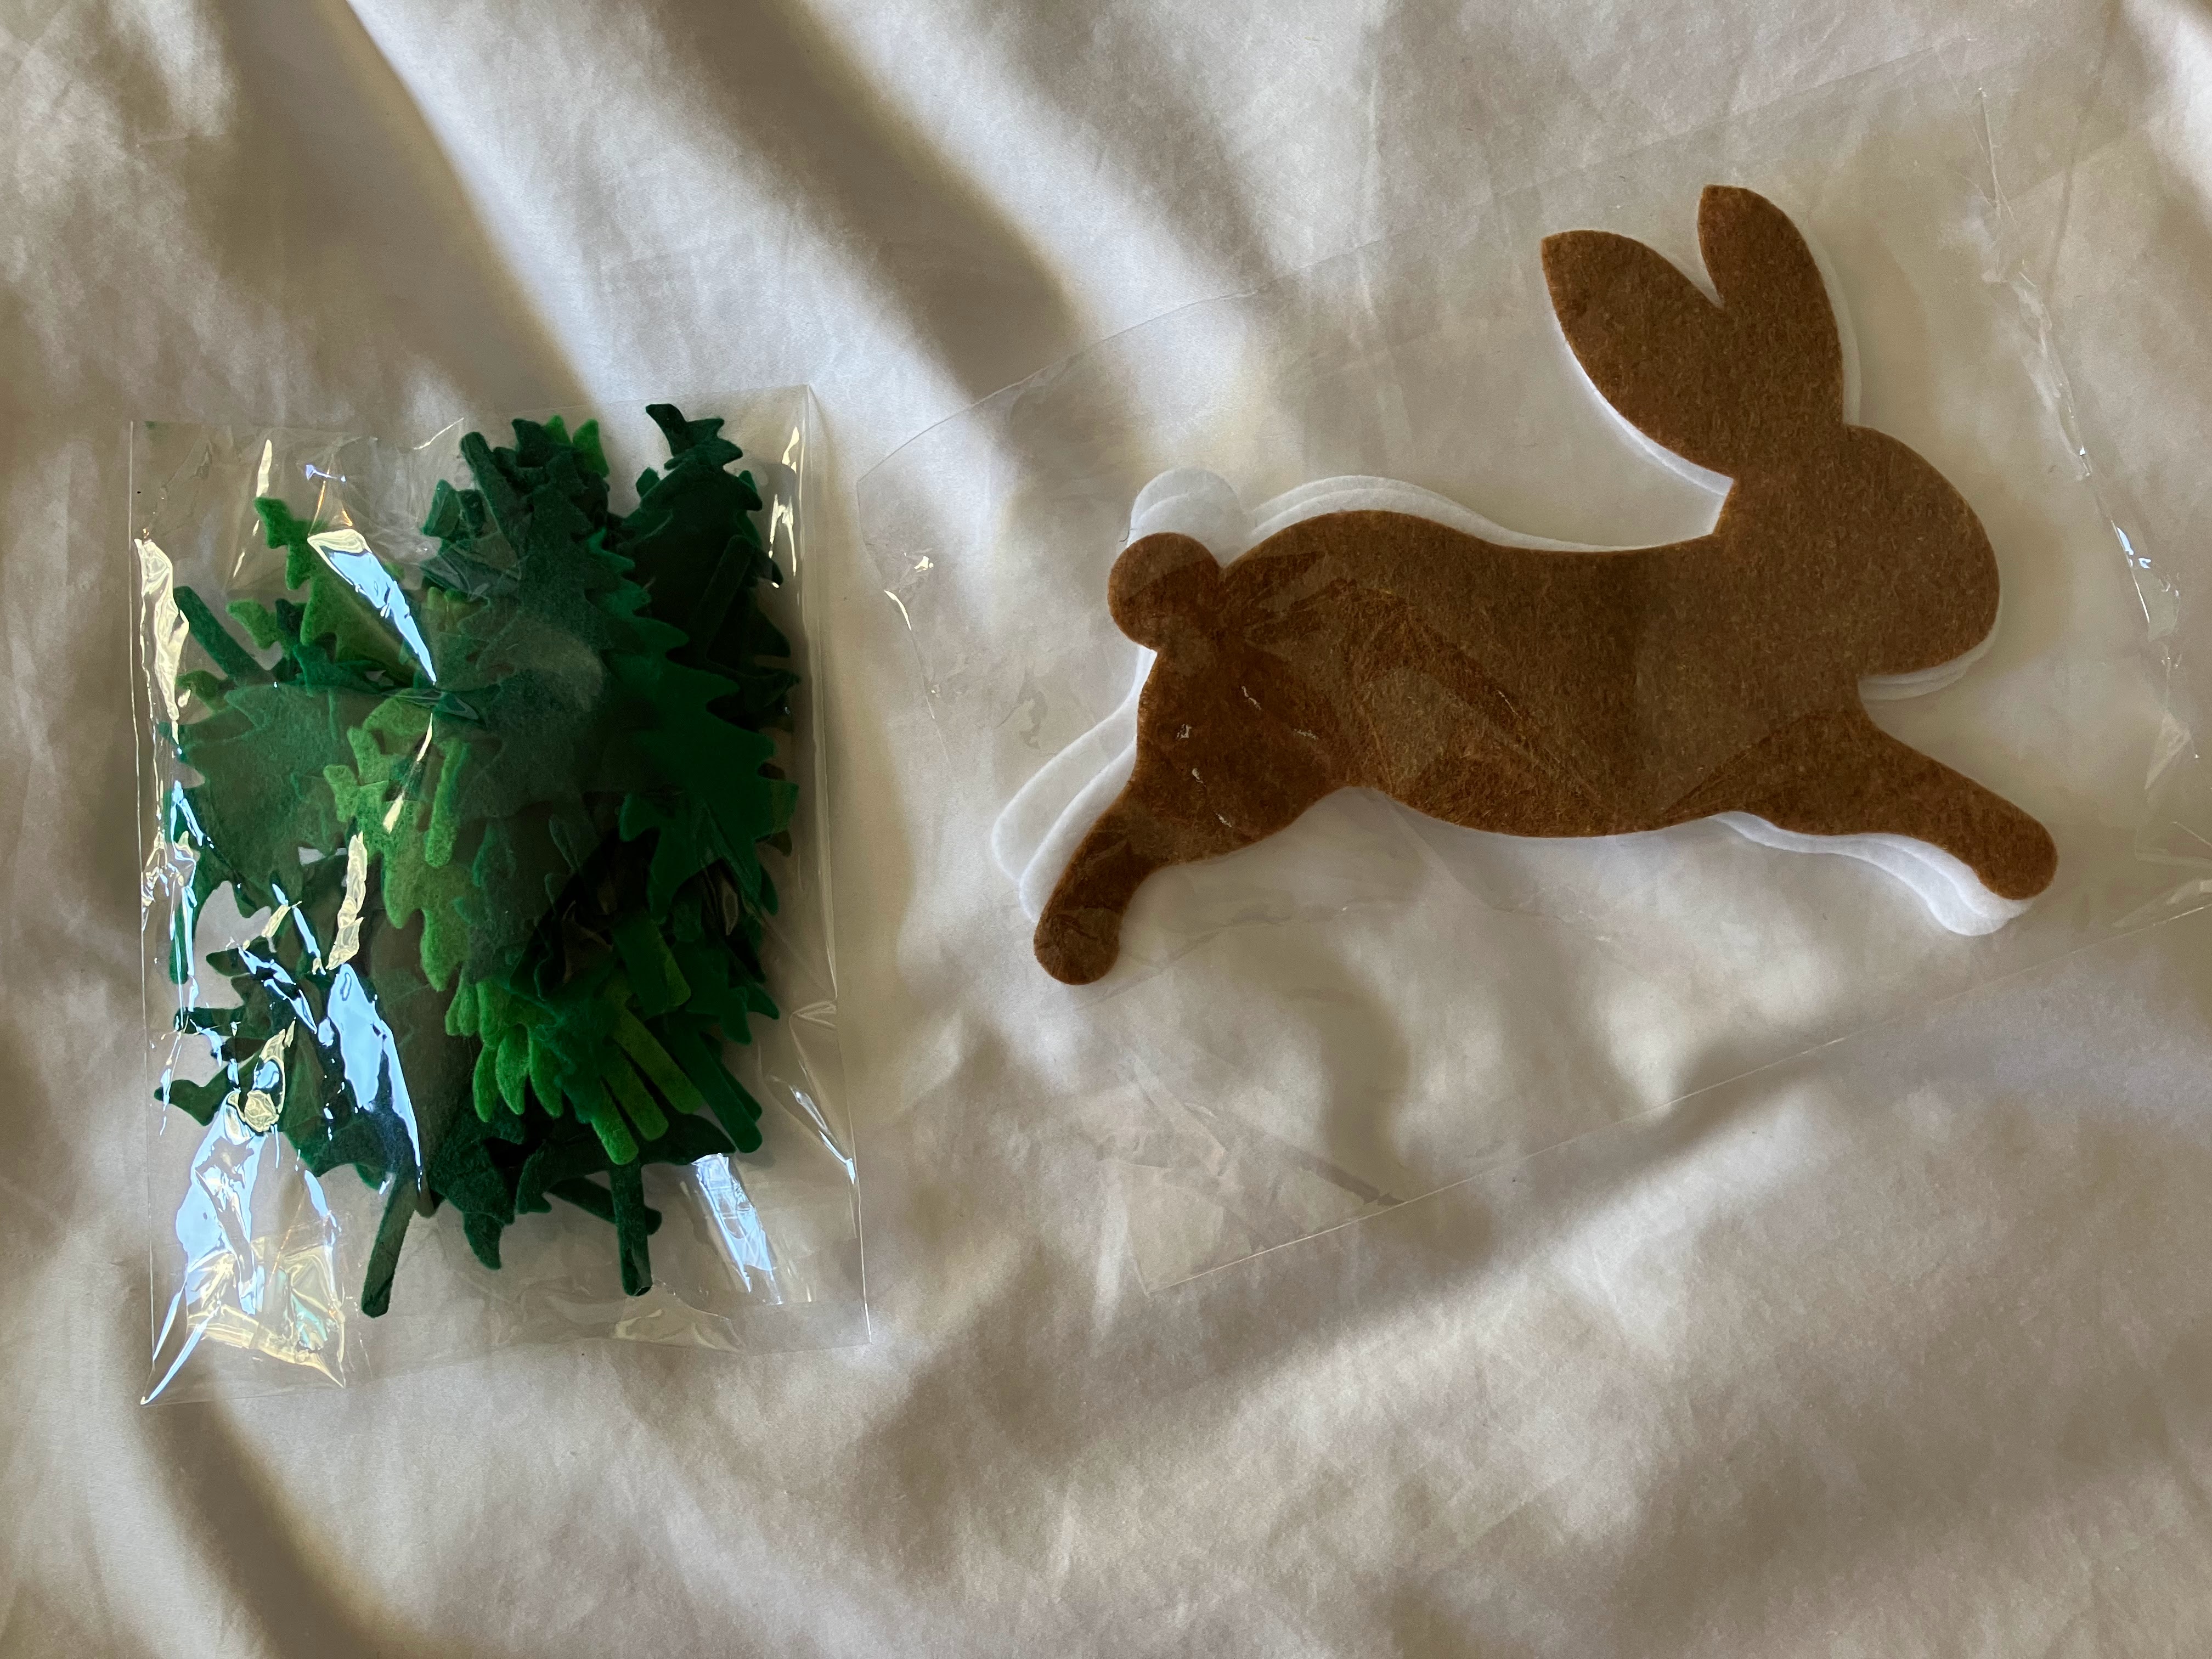
I wanted the bunnies larger, but that doesn't seem to exist! Onward.
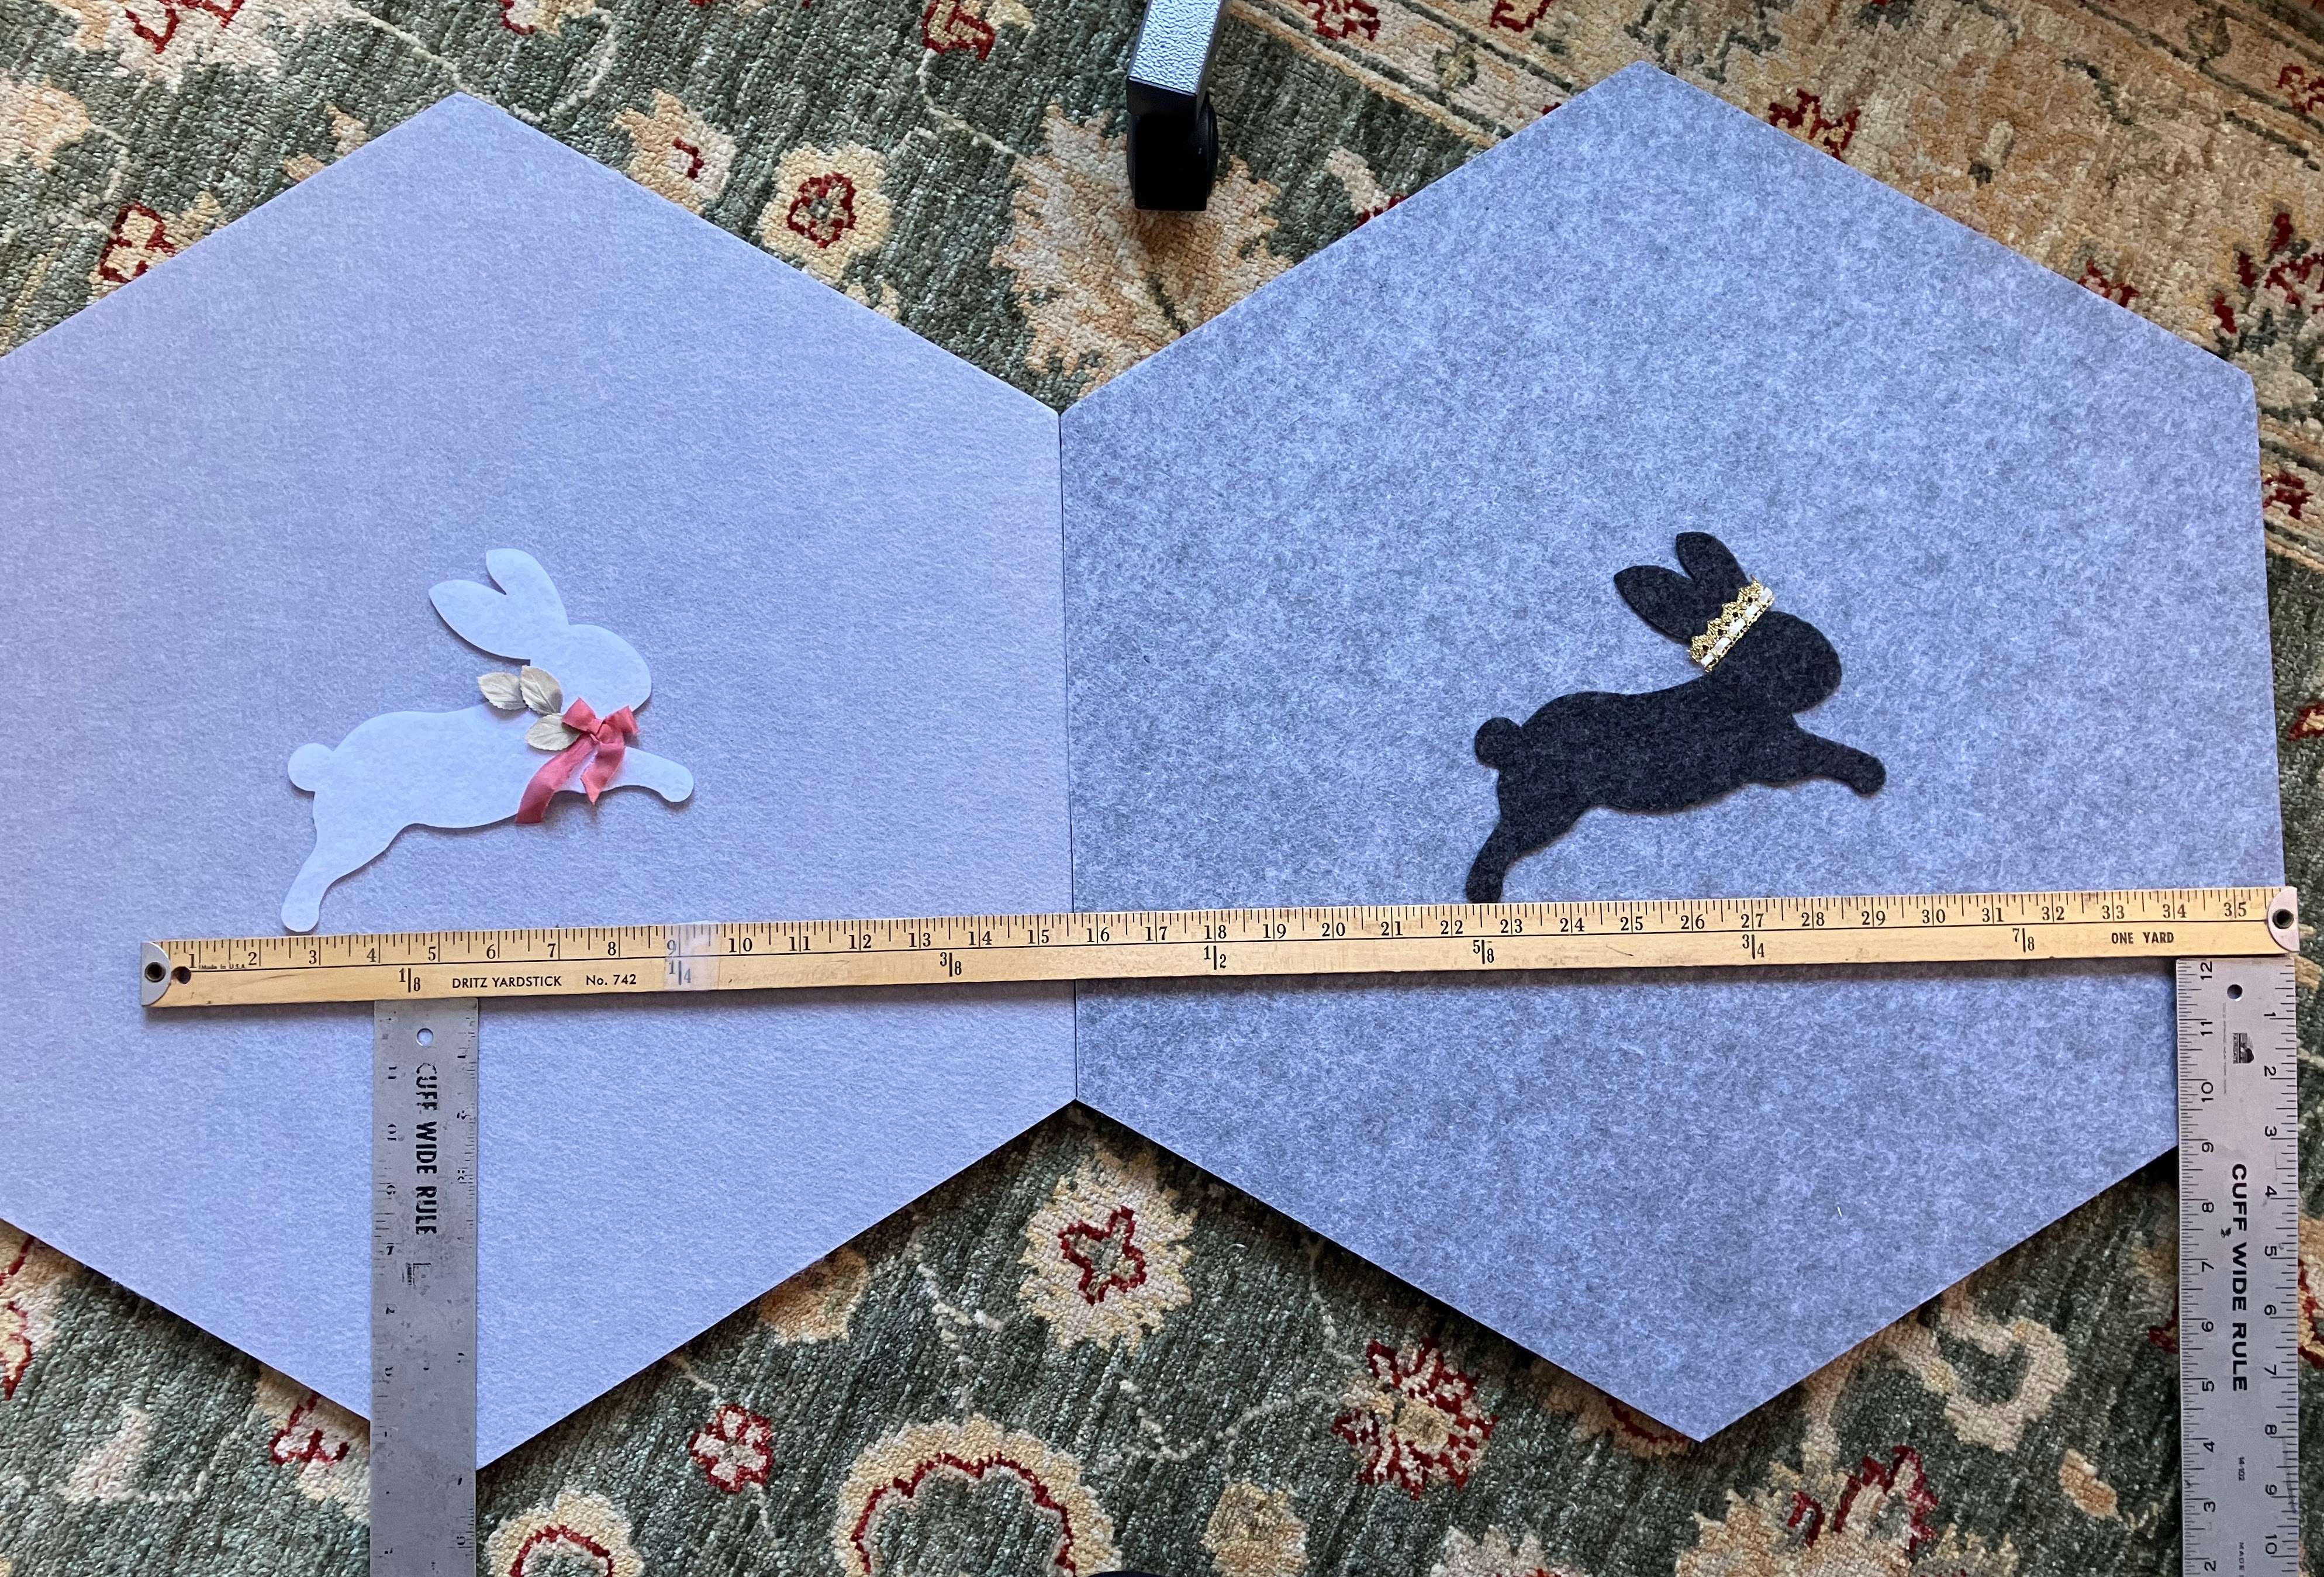
3 ~ Playing with Options
We considered two options.
A meadow scene...
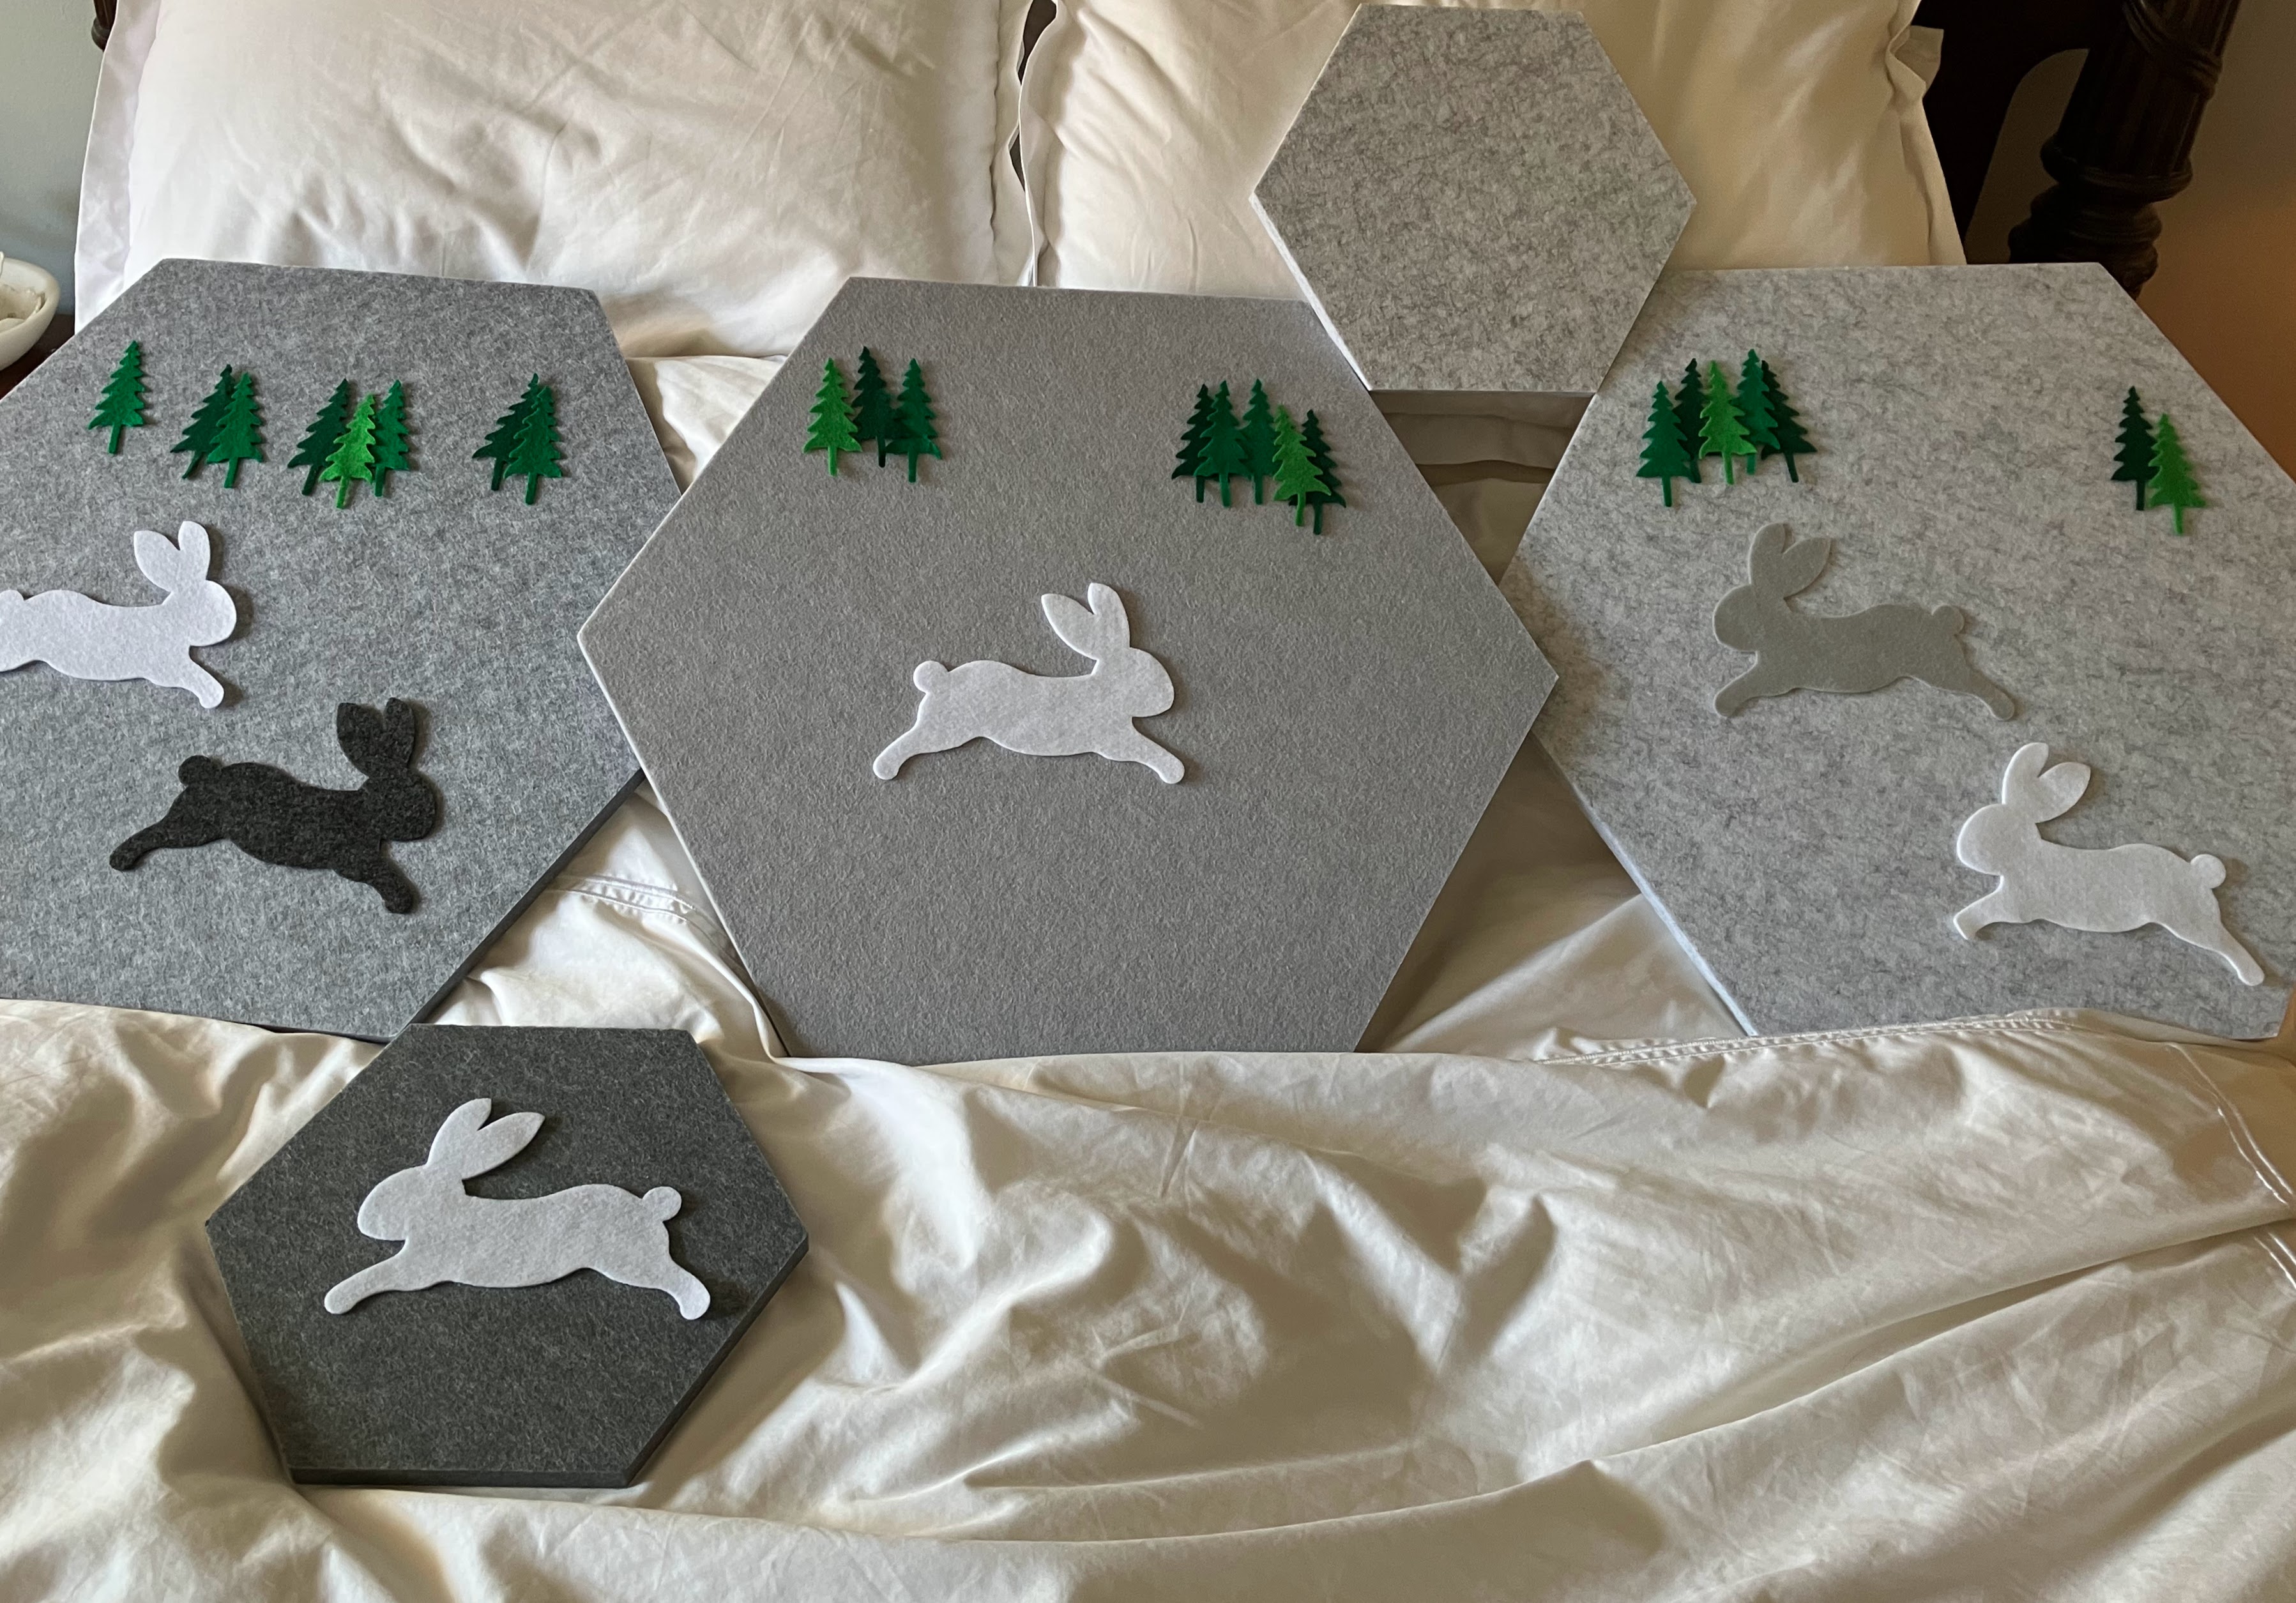
and something minimalist...
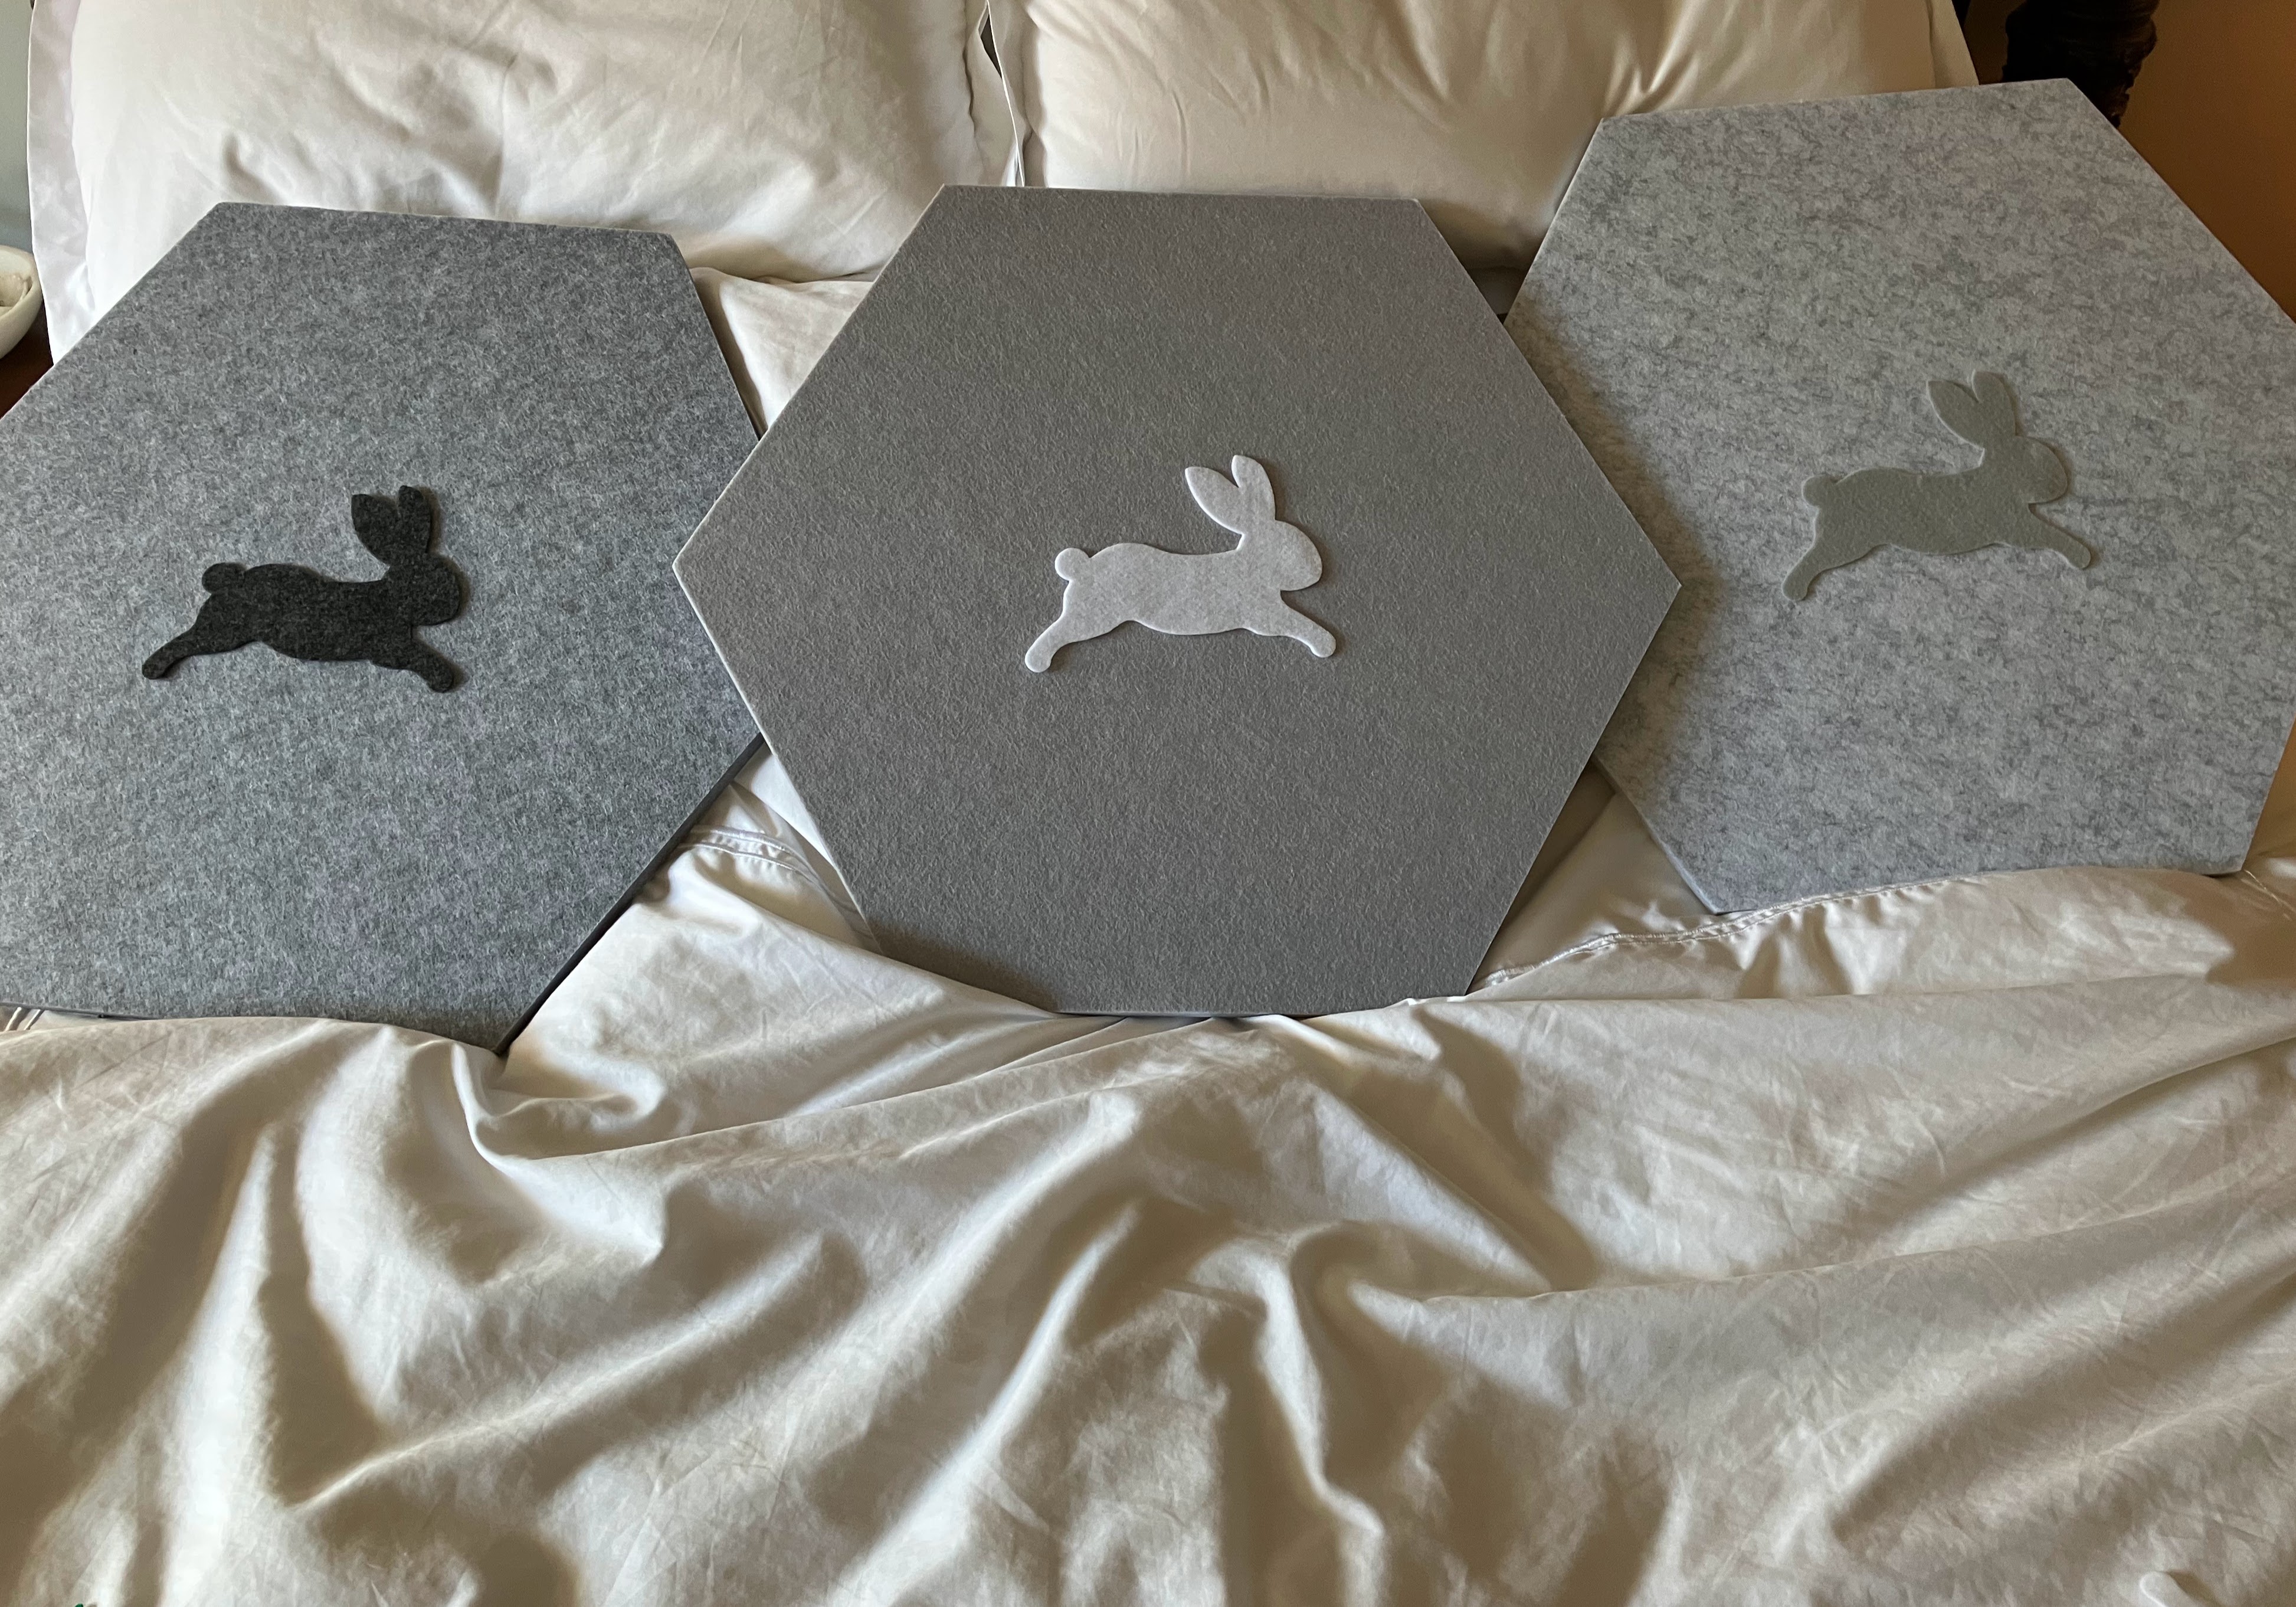
Both were cute. But, neither was quite right for the room.
The meadow scene felt too busy, and the minimalist one didn't feel like enough.
The meadow scene felt too busy, and the minimalist one didn't feel like enough.
So, I did what I usually do, and pulled out my entire stash of ribbons and trims.
4 ~ Adding Ribbon Details
Ribbons and trims are one of my weaknesses. (My absolute favorite source is East Coast Trimming, which has a gorgeous shop in NYC's Garment District.)
I have a pretty big stash left over from other projects, and special items I bought for a rainy day. I love an excuse to haul them out and find the perfect fit.
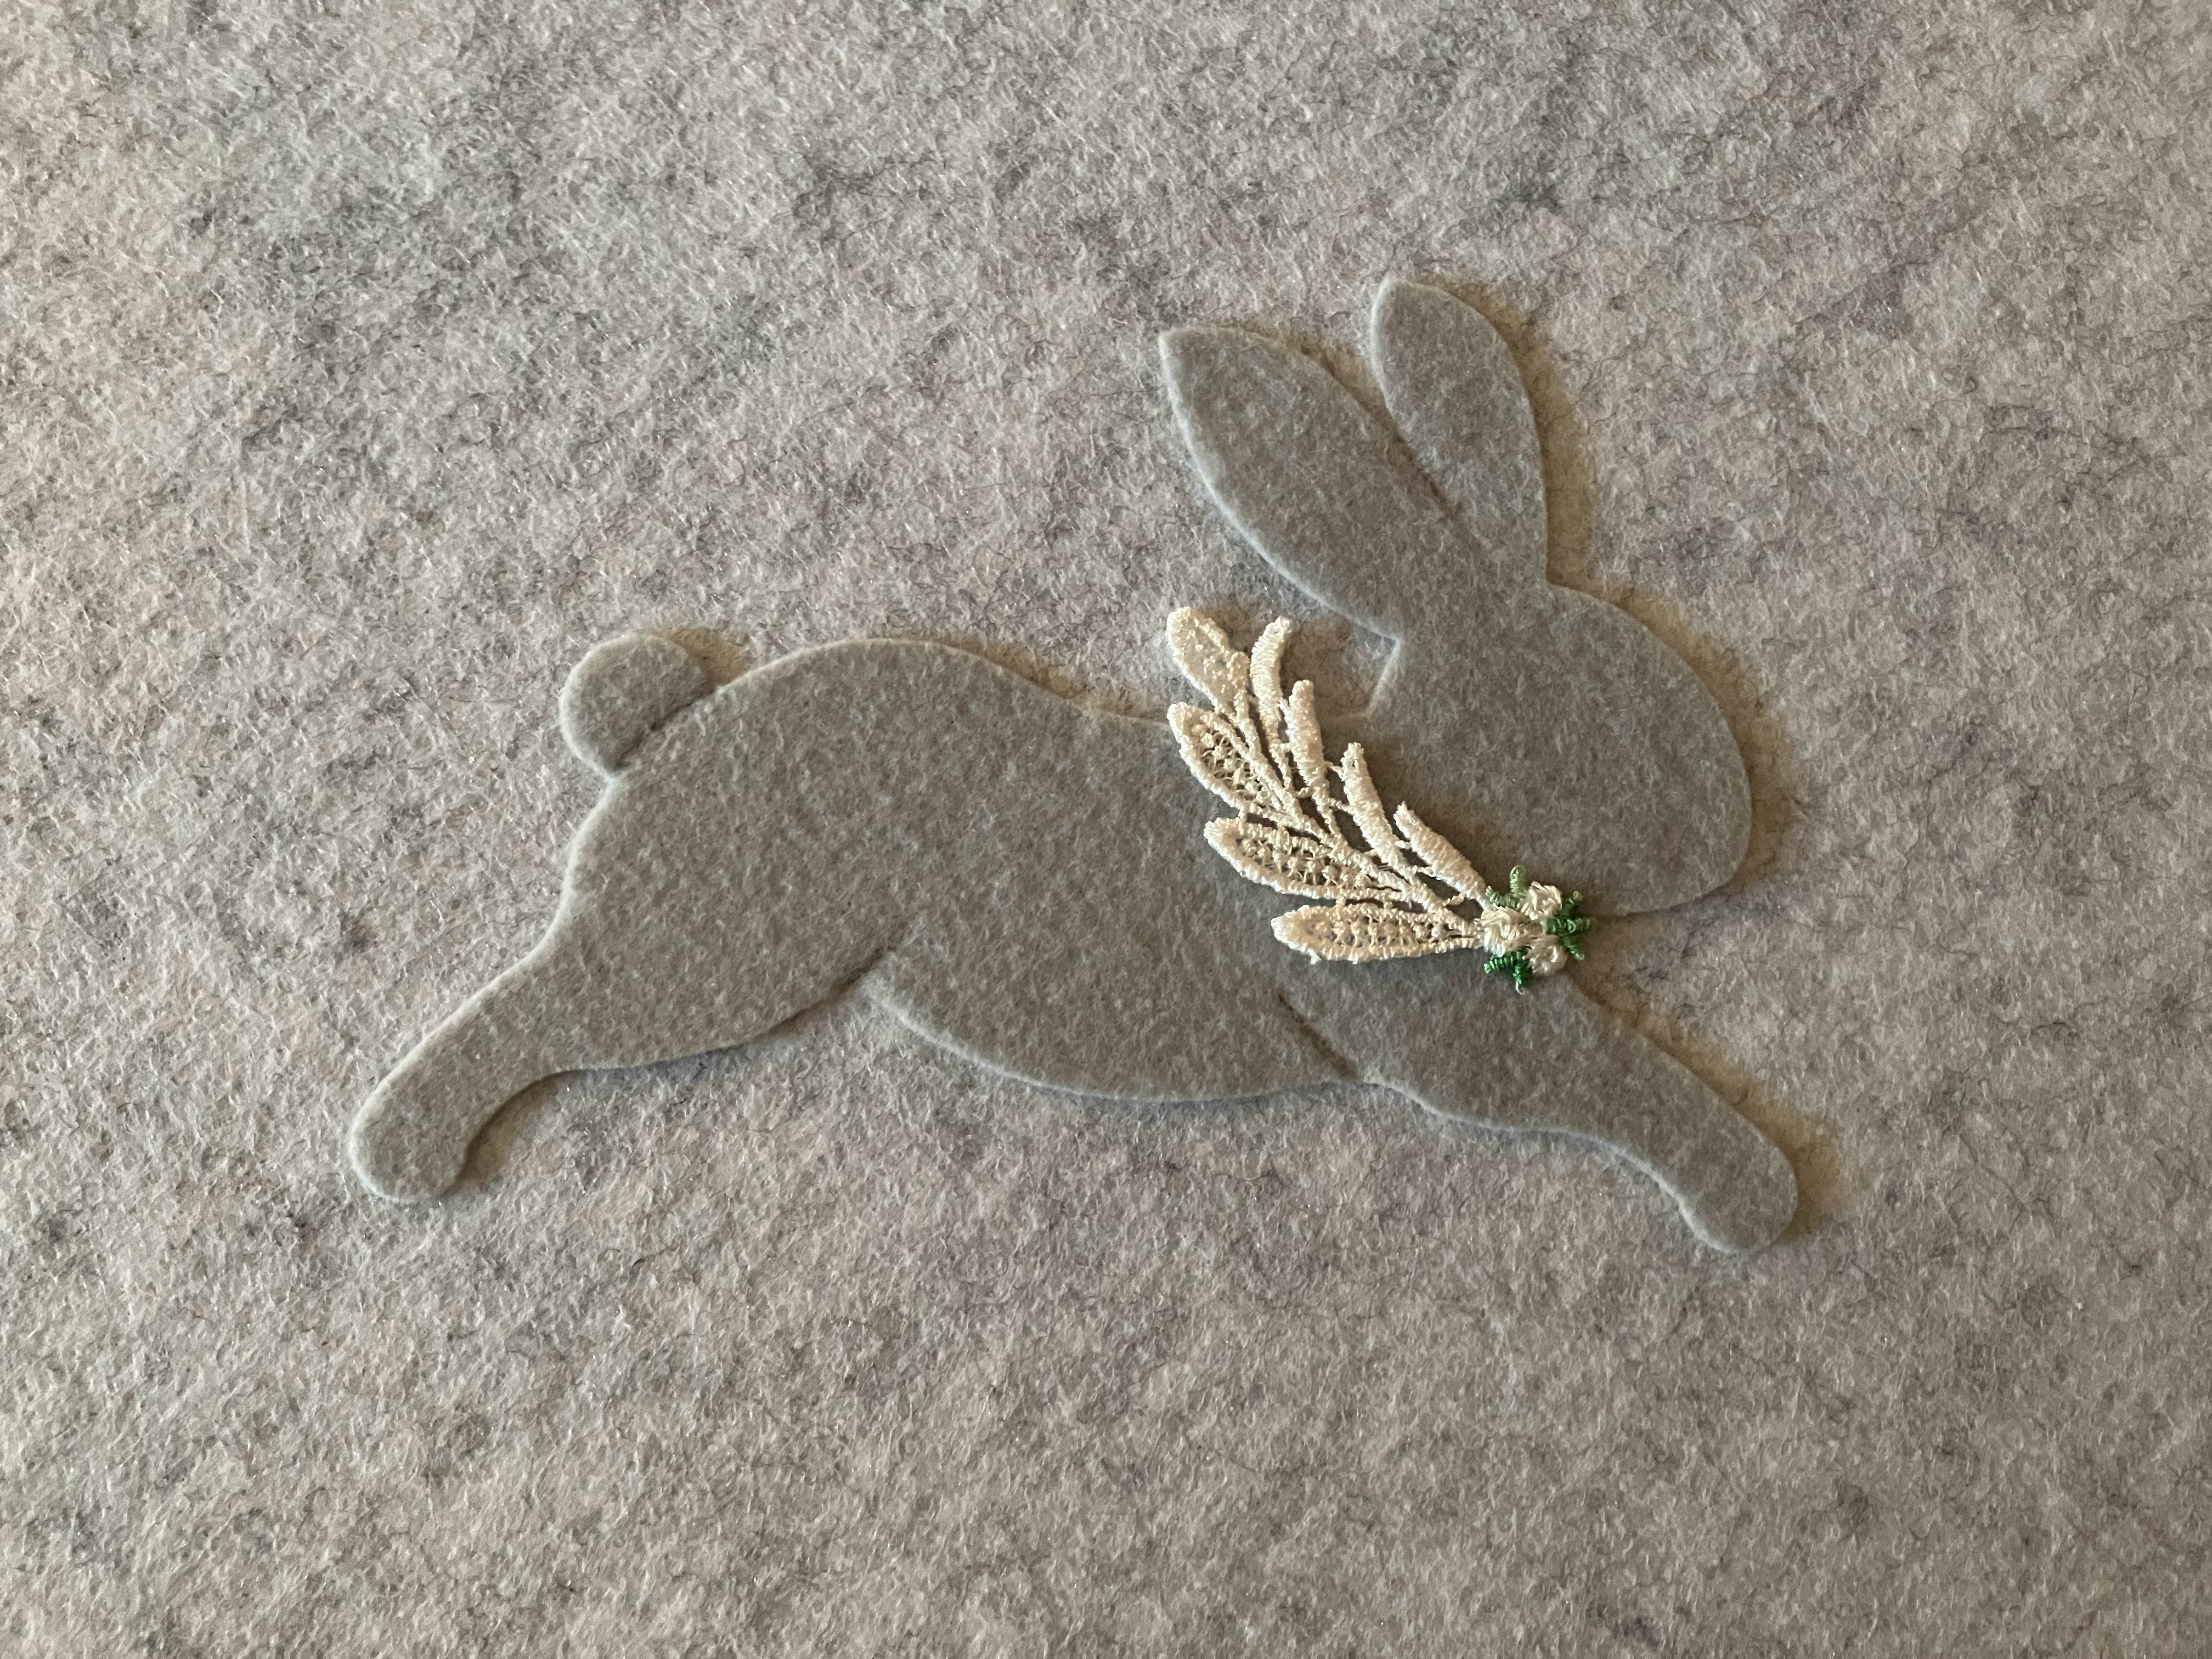
I came up with a combination I loved for each bunny!
Suddenly, they looked Storybook Regal.
Suddenly, they looked Storybook Regal.
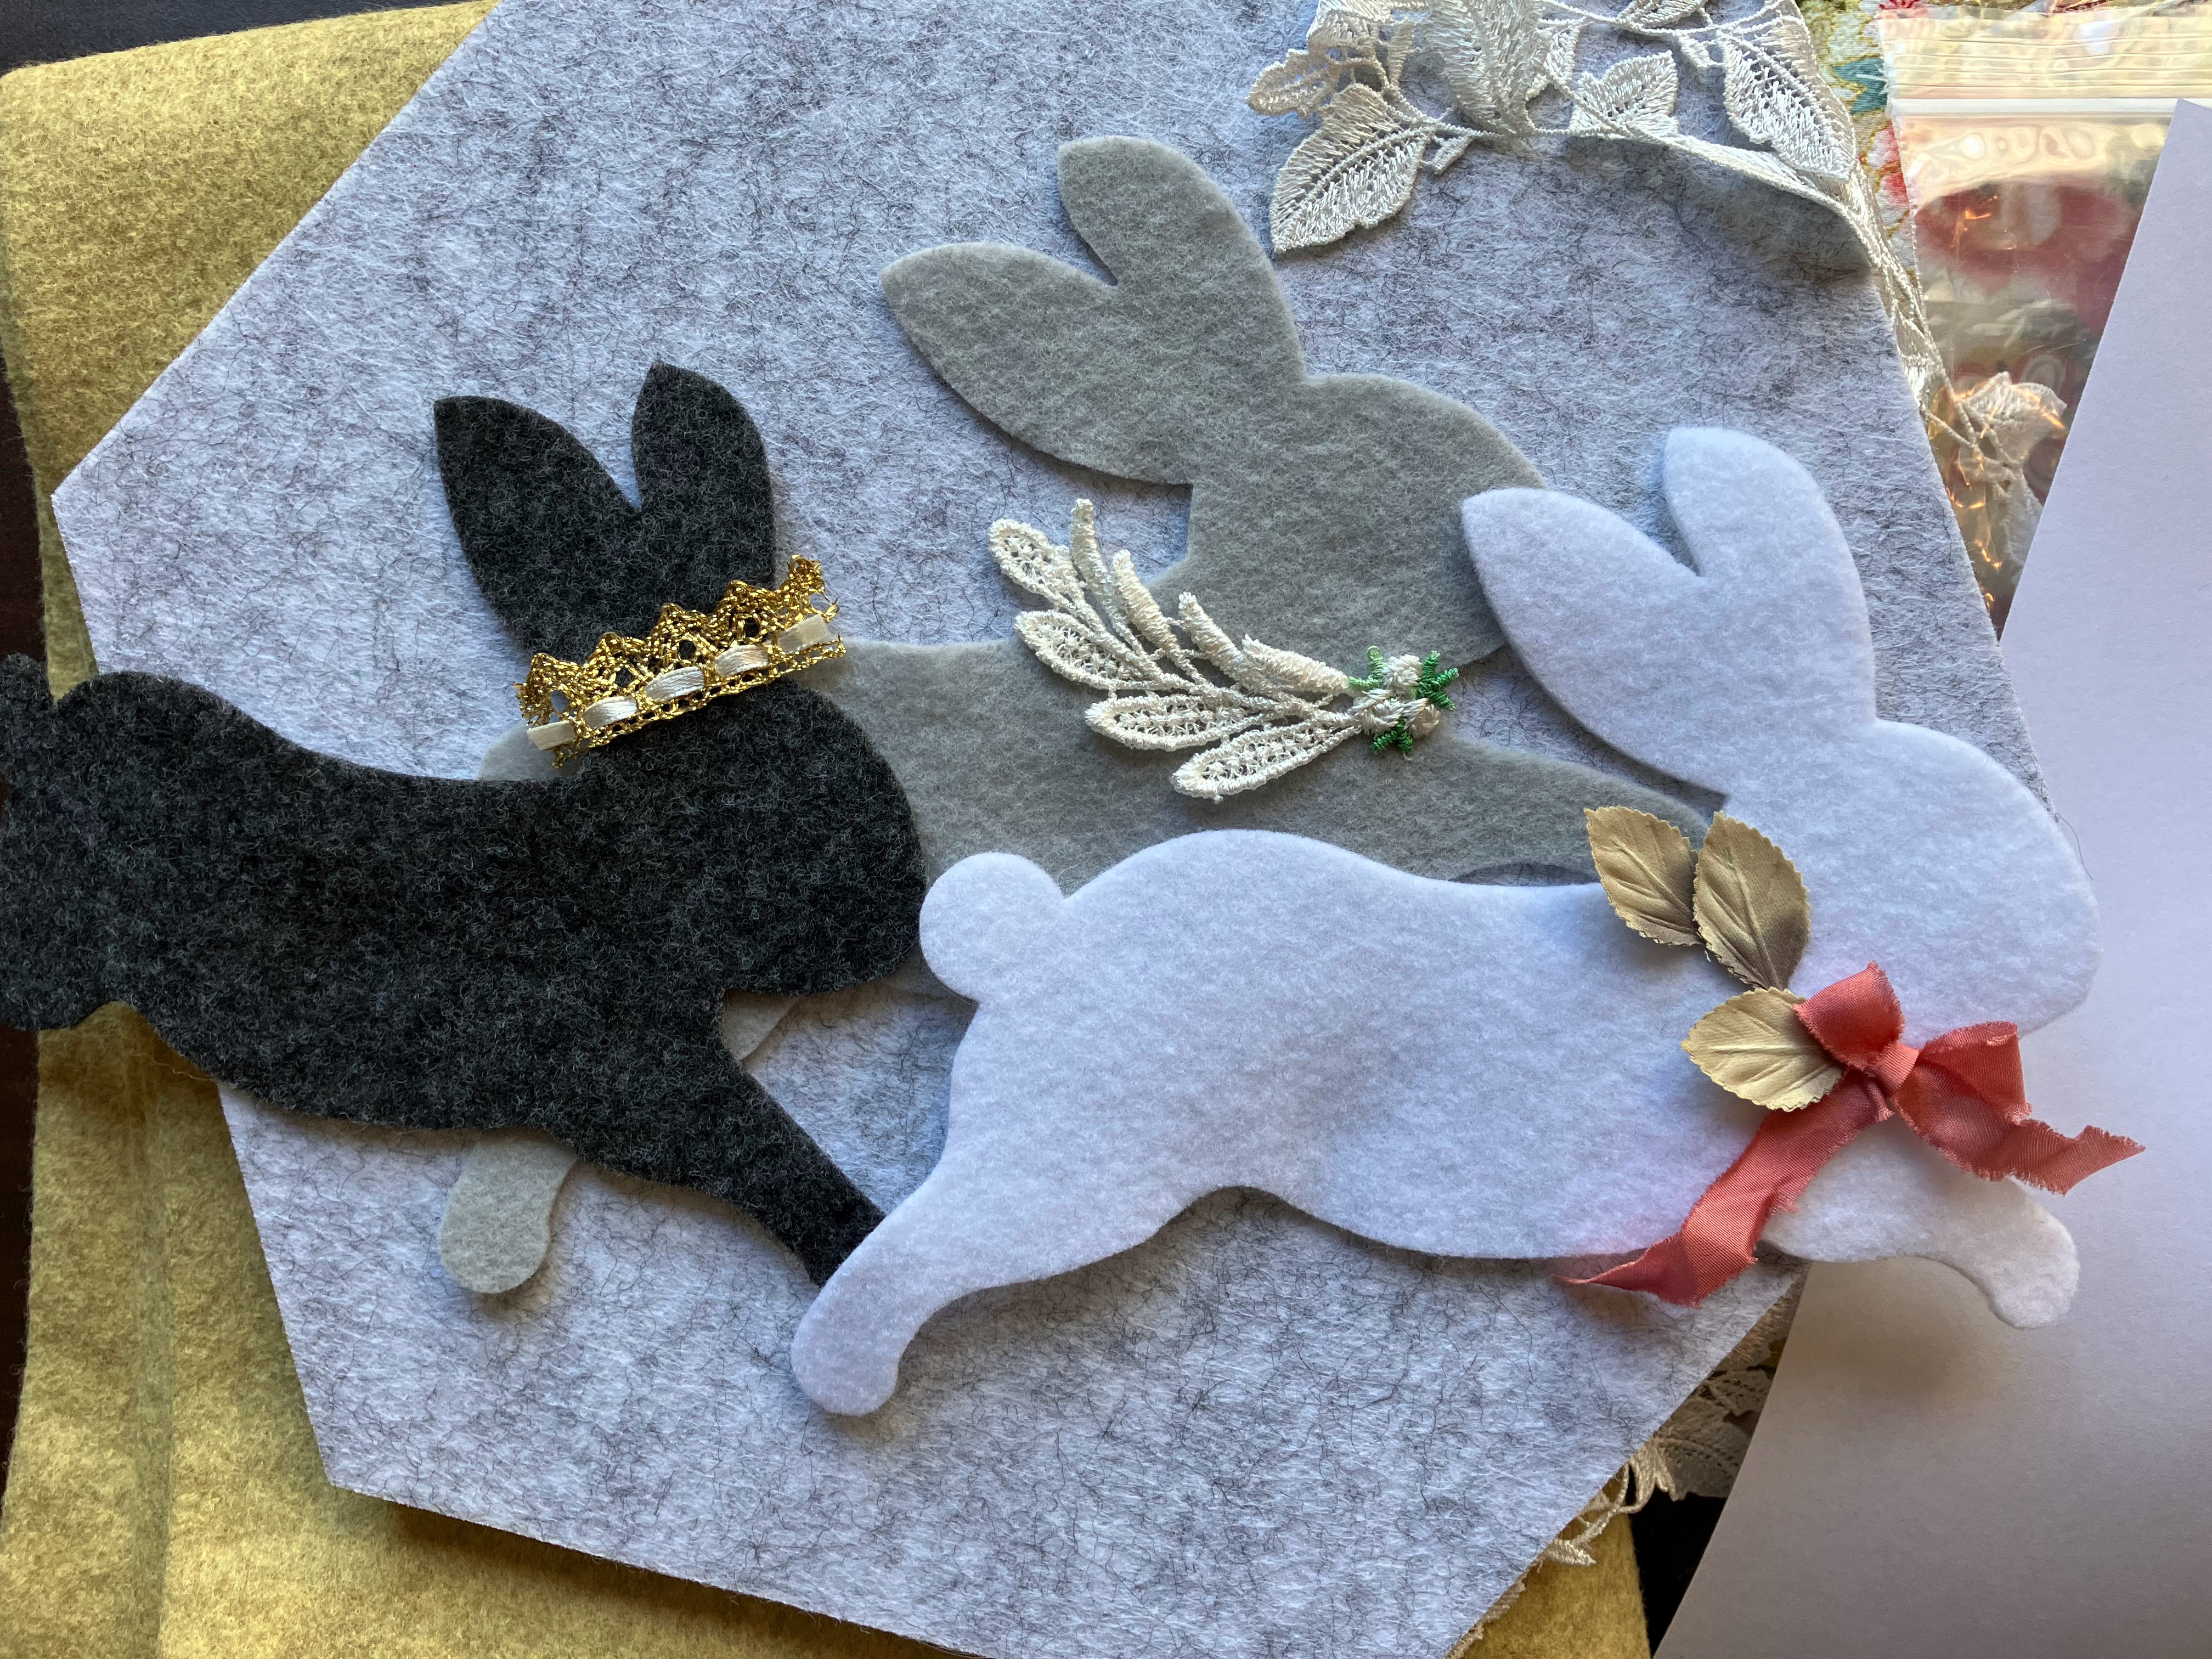
I hand sewed each bunny's ribbon and trim.
5 ~ Gluing the Felt
The next step was to position the rabbits, and glue them into place.
I turned the panels to "diamond" orientation.
Getting the rabbits' spacing identical was tricky! I kept measuring and comparing. This took longer than I thought it would.
I used Aleen's Tacky Glue, which is recommended by PearCreekCottage.
The glue held well to the acoustic panel!
I used just a few dabs on the grey rabbits. But, the glue spots showed through the white felt rabbit. So, I applied an even coat to the back of that one to avoid splotches.
6 ~ Needle Felting
I decided to needle felt some defining lines into the rabbits.
Needle felting is a technique using a special rough-sided needle to repeatedly stab the felt. The rough spots on the needle grab the felt fibers and connect them together. Due to the nature of felt, this binds the felt together, and compacts it.
It sounds complicated, but the process is simple to try, especially on a 2D felt shape. It's also very forgiving. Stabbing a few times in the wrong spot doesn't really matter.
The benefit of the needle felting here was two-fold. First, it further adhered the bunny to the acoustic panel.
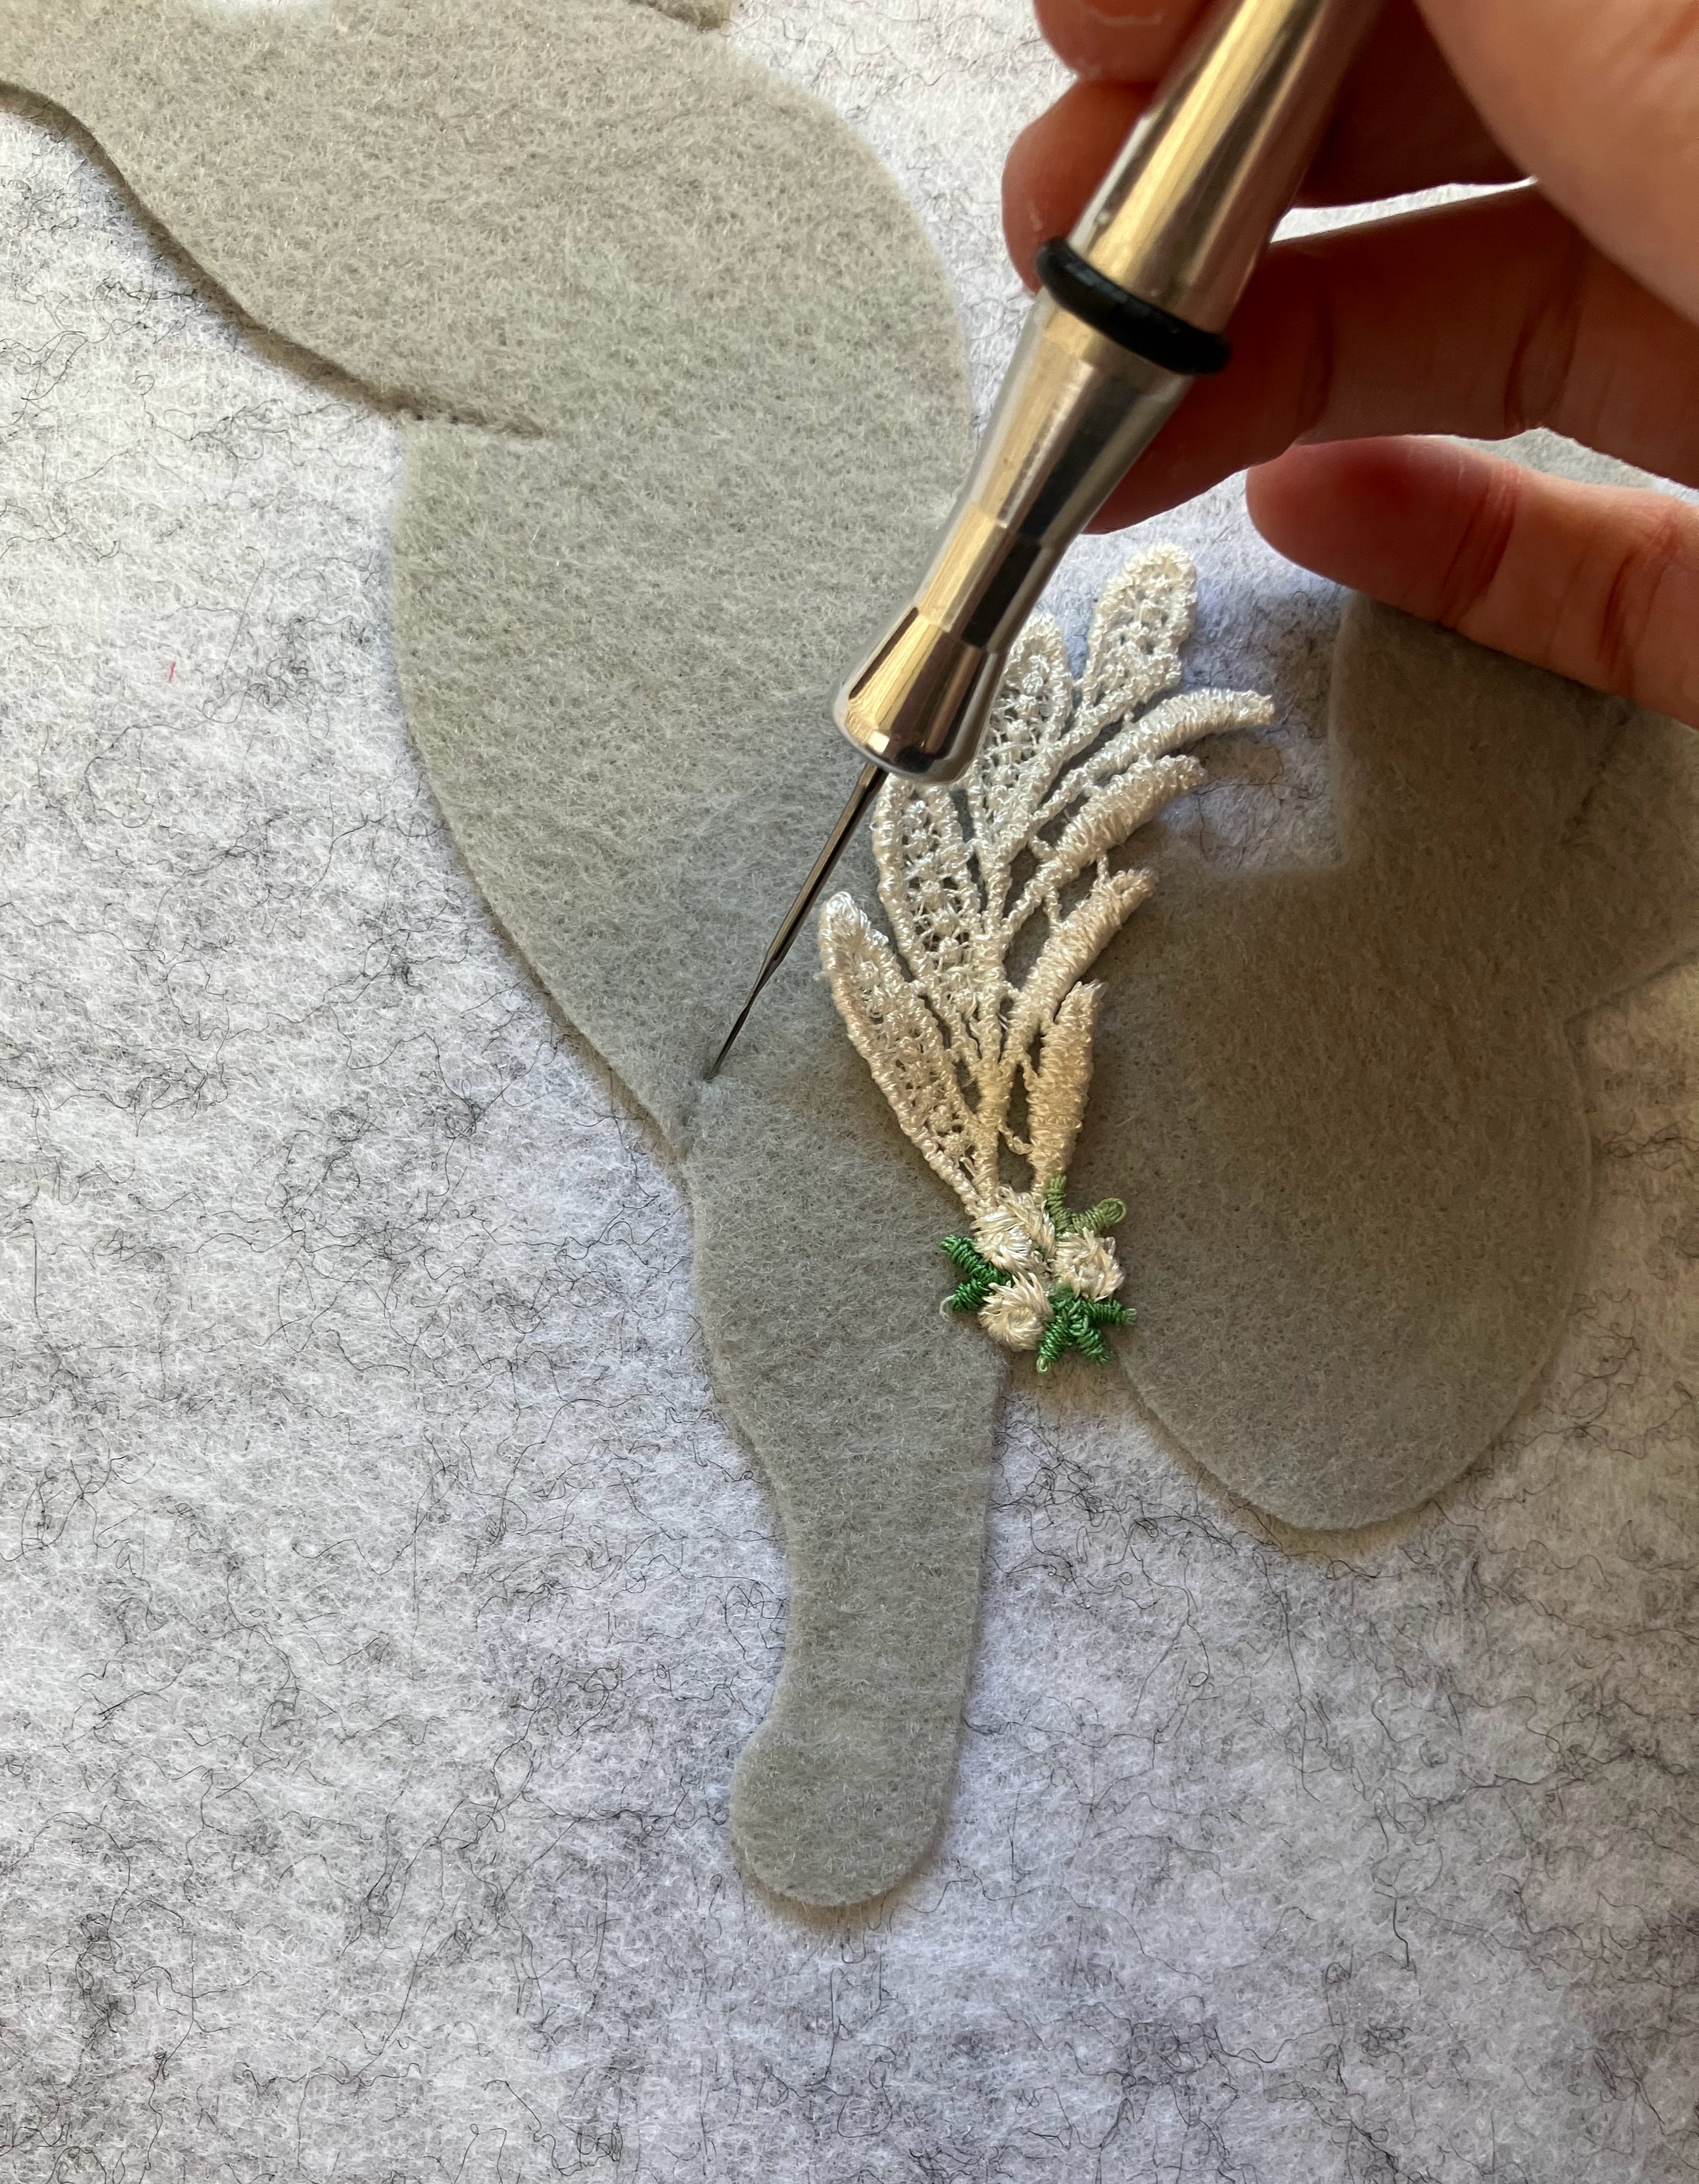
Second, it elevated the bunny by adding depth, giving the project a more luxe look.
If I were to do this again, I might skip the glue entirely, and just rely on the needle felting to attach it.
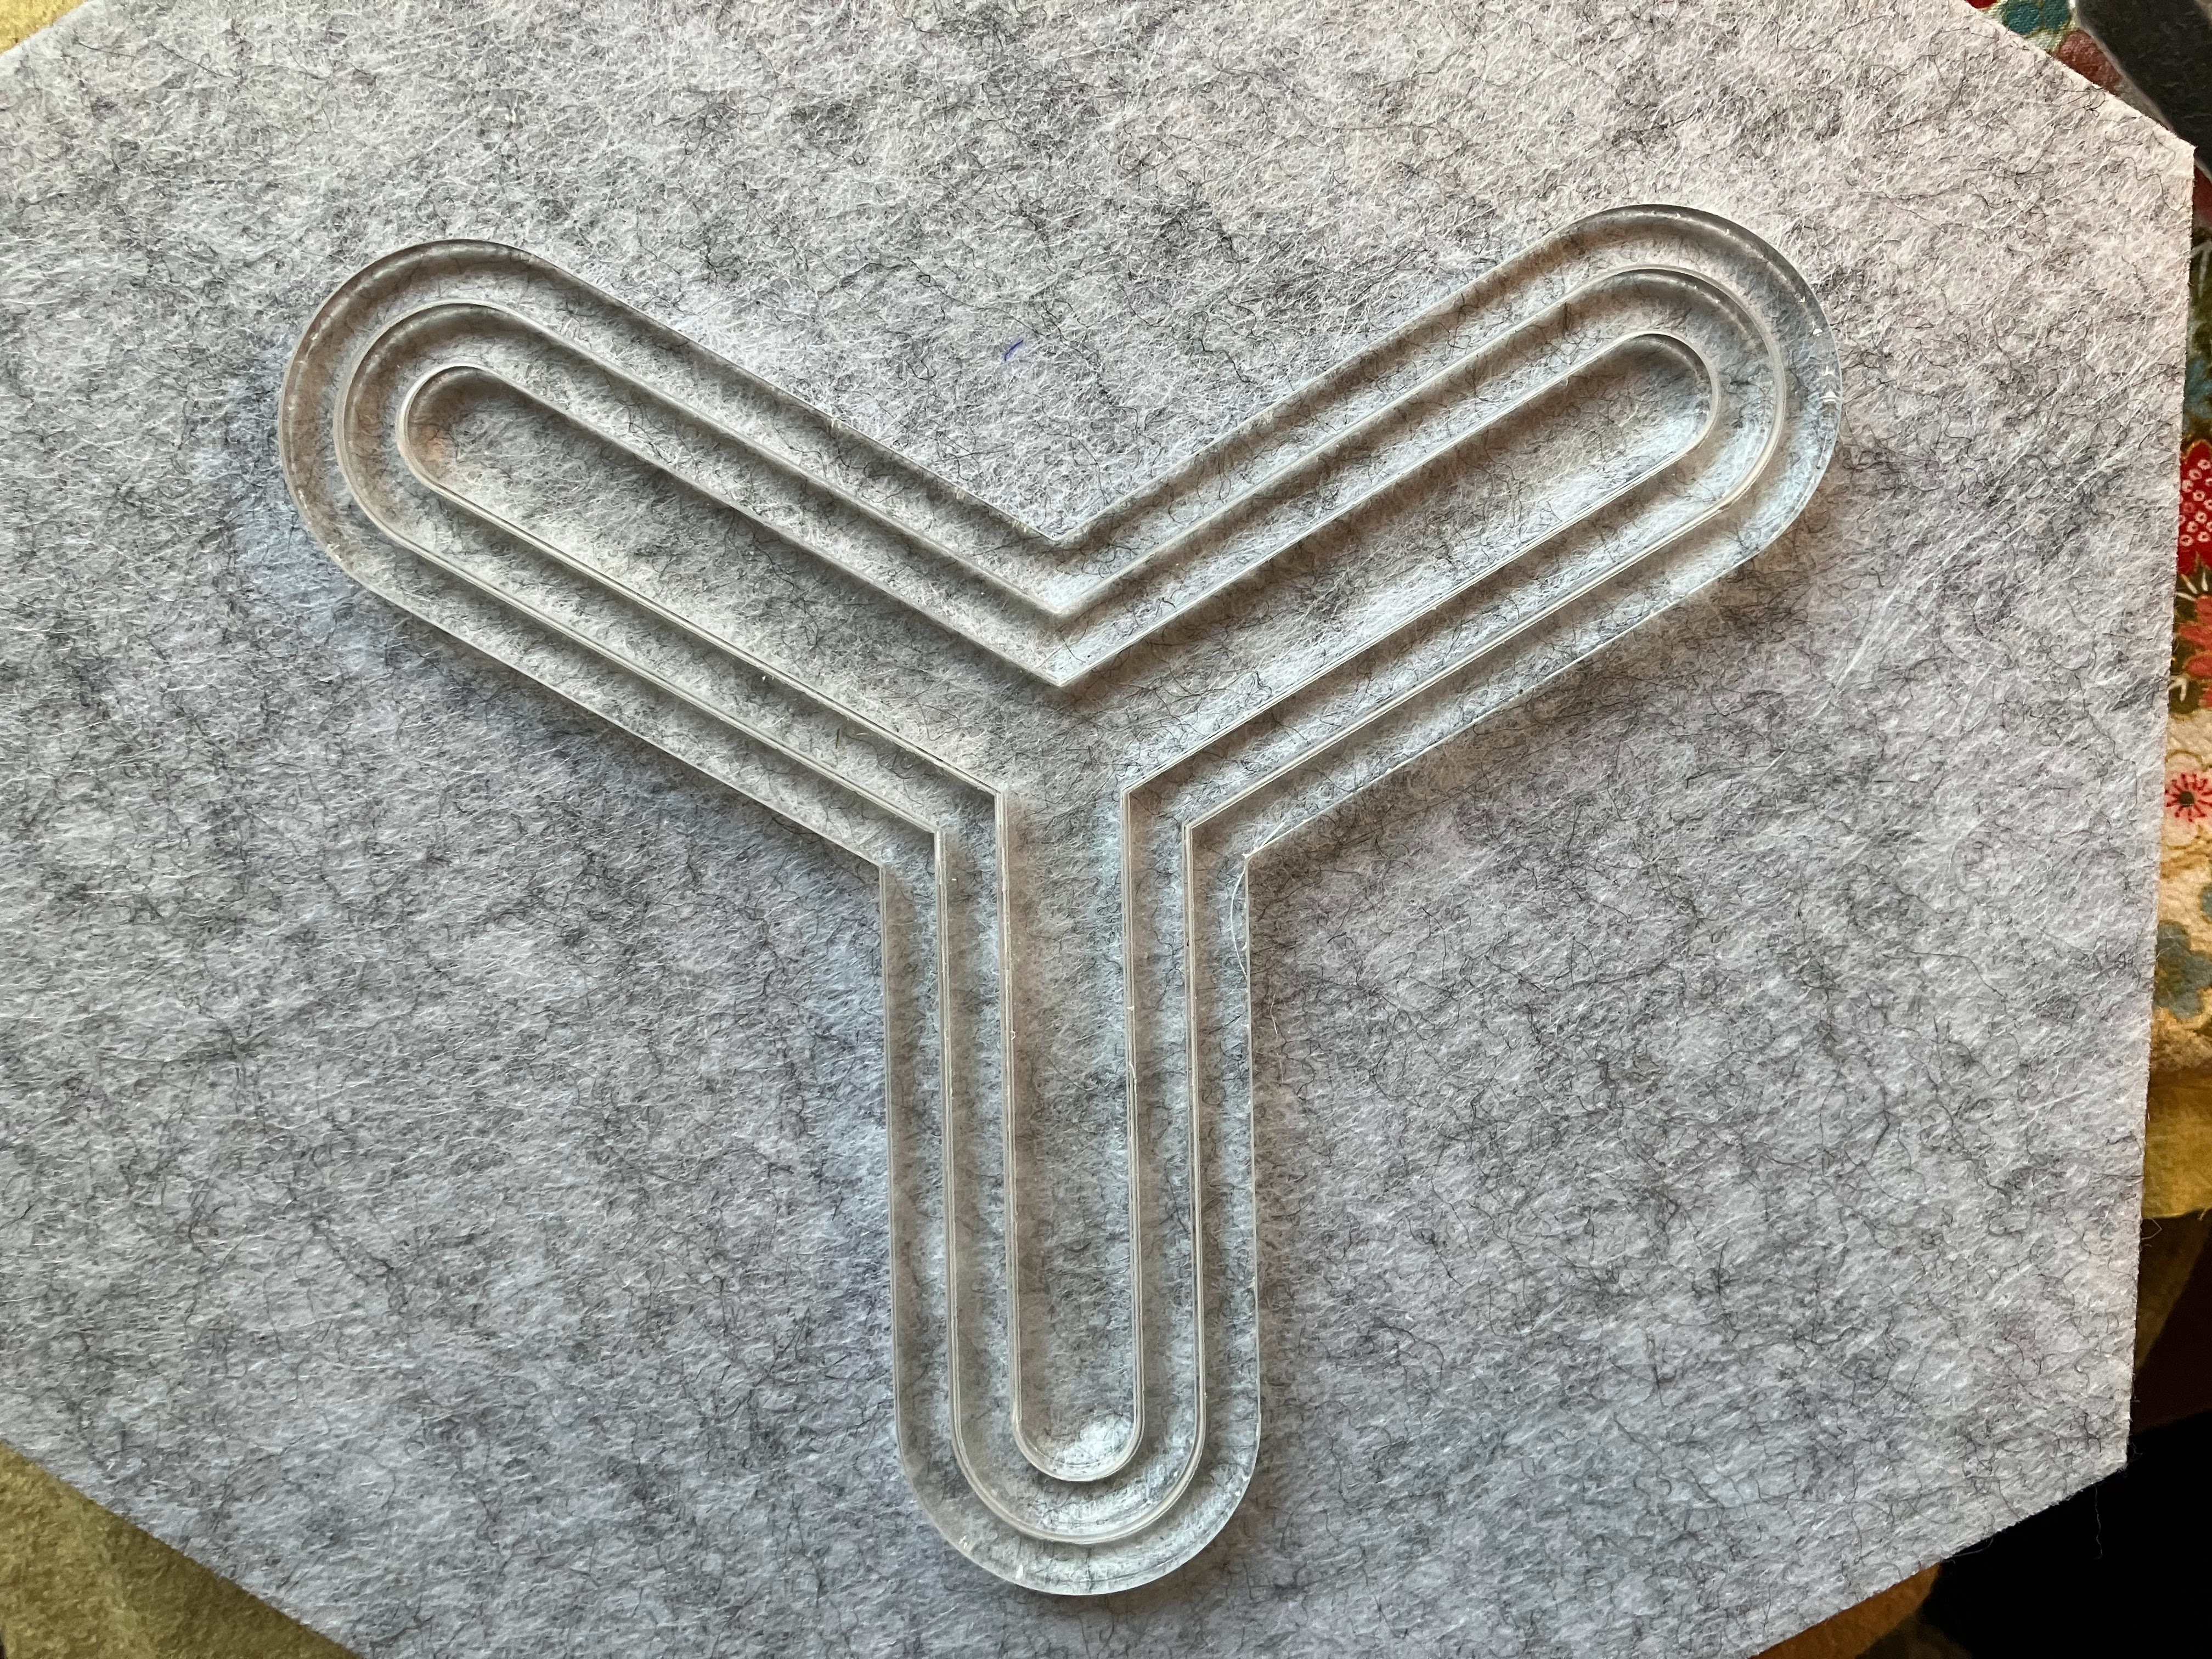
7 ~ Mounting Plans
NowSpinning, the acoustic panel seller, includes helpful advice for mounting, and a plastic spacer.
8 ~ Mounting FAILS
We wanted something removable.
Fail #1
We tried to stick 3M tape to the paper backing on the panels.
But, the tape wouldn't stick to the paper. Ugh.
Fail #2
Frustrated, we tried to stick on some 3M hooks, and then tie them to a wall. It looked great for a few hours and then...

8 ~ Mounting SUCCESS
I reached out to NowSpinning for help.
A kind NowSpinning rep explained you have to peel off the adhesive backing from the tiles, and then stick the 3M tape directly to the panel.

Peeling the adhesive off was surprisingly satisfying.
When it came time to use the 3M tape, we were a little nervous that if we ever wanted to move it, we would have to destroy the artwork. So, we actually used 3M heavy duty Velcro tape to stick it to the wall.

8 ~ Tada!
Here's the finished product.
.jpg)
I could totally see myself wanting this for her room, even if sound absorption wasn't so important.
Goal accomplished!
We'd love to see what other families come up with too!


