


DIY Hearing Aid Doll: How to Add Hearing Aids to Any Doll or Stuffed Animal
Want a doll that wears hearing aids but can't find one? Make your own. Here's our bead-and-headband method for any doll.
Why We Made Our Own
Ready-to-buy dolls with hearing aids and cochlear implants are wonderful—and we have a roundup of those too. But sometimes you already have a beloved doll at home and you just want her to look a little more like your child. This project solves that.
The method is simple: hand sew a pair of small decorative beads onto a doll's headband to stand in as hearing aids. It takes about 20-30 minutes, costs almost nothing beyond the beads, and works on any doll with a headband or hat. We used whale-shaped beads from Etsy on a stretchy headband. They're colorful, charming, and not trying to be medically precise. It's exactly right for a child's imagination.
One note before you start: because this project involves small beads, we treat this as a supervised toy for children under three. That's worth keeping in mind as you choose your beads and your doll.
I like finding new ways to adapt mainstream toys into inclusive toys for children with hearing loss.
For an even faster method using felt, try our 15-minute stuffie project!
What You'll Need
- Doll Headband
- Beads
- Needle and Thread (A basic hand sewing kit may come in handy.)
- Scissors (Here's a set with the Fiskars scissors we used.)
- Pencil (any pencil is fine!)

Step-by-Step Instructions
Step 1 — Choose Your Doll
I looked for a doll with:
- A hard plastic head, and
- A hat or a broad headband that easily covers the doll’s ears (Need a headband? Check out our article on DIY hearing aid headbands for dolls and stuffed animals.)
I chose to work with this baby doll, from BABI by Battat.
She’s so sweet, and the broad, stretchy headband gives me easy fabric to work with.
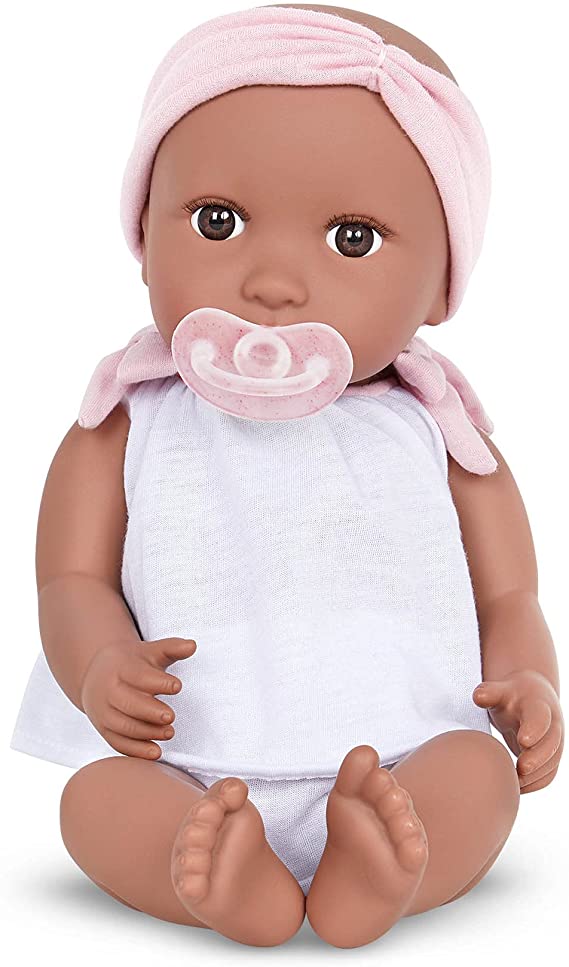
Update: The BABI doll we used appears to be discontinued as of this writing. This cute 12" baby doll from Enjoyin also has a headband for your hearing devices!

Step 2 — Find The Right Beads
Next, I looked on Etsy to find plastic beads to use as the hearing aids.
I looked for beads that are:
- Plastic or wood (no glass or anything easily shattered)
- Wide holes (for safety reasons and to allow me to sew through the holes many times to attach it)
- Double-sided, meaning I could use the bead on the right side and left side, without it looking upside down or flat
Ideally, I also wanted:
- A hearing aid shape (this could also work for a cochlear implant too!)
- Cute color
I was not too worried about the “hearing aids” being super realistic. Children’s toys often rely on the child’s imagination.
I decided on these whales:

I got them from MadisonBeadshop on Etsy, which had tons of cute options.
Step 3 — Mark the Placement
Next, I used a pencil to mark the place where I want to sew the first bead.
Important Step - Before marking it, I turned the headband inside out.
So, the "right" side of the headband was touching the doll's head.
While my headband was similar on both sides, this step is crucial if I were using a headband with a clear "right" side.
Then I marked the spot, drawing on the "wrong" side of the fabric (which was still facing outwards).

I used a chalk fabric pencil to mark the spot, but any pencil would be fine.
Step 4 — Position the First Bead
Next, I took the headband off the doll to hand-sew the first bead on.
Important Step - I positioned the bead upside down compared to how I want it.
Sewing it upside down means it will be right side up when I flip the inside out headband the right way. This matters more if you're doing a unilateral hearing aid, or different device beads on each side. It also matters more if your headband has a "top" to it.
Basically, positioning in sewing can be complicated! The best way I've found is to test it out before I do too much stitching.

Step 5 — Sew the First Bead
Next I sewed on the first bead.
I would do a stitch near the whale's head, pass through the bead hole, and then do another stitch near the tail. Then, back through the bead hole, for a stitch at the head, and back through for a stitch at the tail. Over and over.
While I don’t plan to use this unsupervised until she’s older, I still want to be careful with small beads, so I did a lot of stitches and pass-throughs. I even re-did it with a second piece of thread, in case one thread snaps.
Since my headband has two layers, I kept all of my stitches on the "wrong side" layer of the headband, so the stitches won't show through when the headband is on the doll.
Step 6 - Test the Fit
Then, I placed the headband back onto the doll, to see if I needed to make any adjustments.

It fit well!
Step 7 — Sew the Second Bead
I aligned my head band, to make the second bead symmetrical.

Then, I sewed it on in the same way I did the first.
Step 8 — Done
Here’s how she looks with her new hearing aids!

I love the way it turned out! I hope that as my baby grows, she enjoys helping her baby keep her hearing aids on.
Make It Your Own
There's no rule that your beads have to be whales. Any small, lightweight, plastic bead with a wide hole works—stars, flowers, animals, abstract shapes. The point is that your child's doll wears something on her ears that makes her look like your child. The rest is play.
If you're looking for ready-to-buy inclusive dolls instead of making your own, we keep a running roundup of dolls and toys that come with hearing devices built in. And once your doll has her hearing aids, she might need a checkup! Tune up those hearing aids by playing Audiologist!
And if you're looking for a fast, no-sew alternative, check out our quick and easy headband approach for adding hearing devices to a doll.


